

Ultimate Guide To Mash Feed for Chickens
Mash Feed For Chickens
Mash feed for chickens is a loose, crumbly blend of grains, protein supplements, and minerals. It mimics natural foraging and gives you hands-on control over every ingredient. Whether you’re raising chicks, growers, or layers, mash lets you tailor nutrition on the spot.
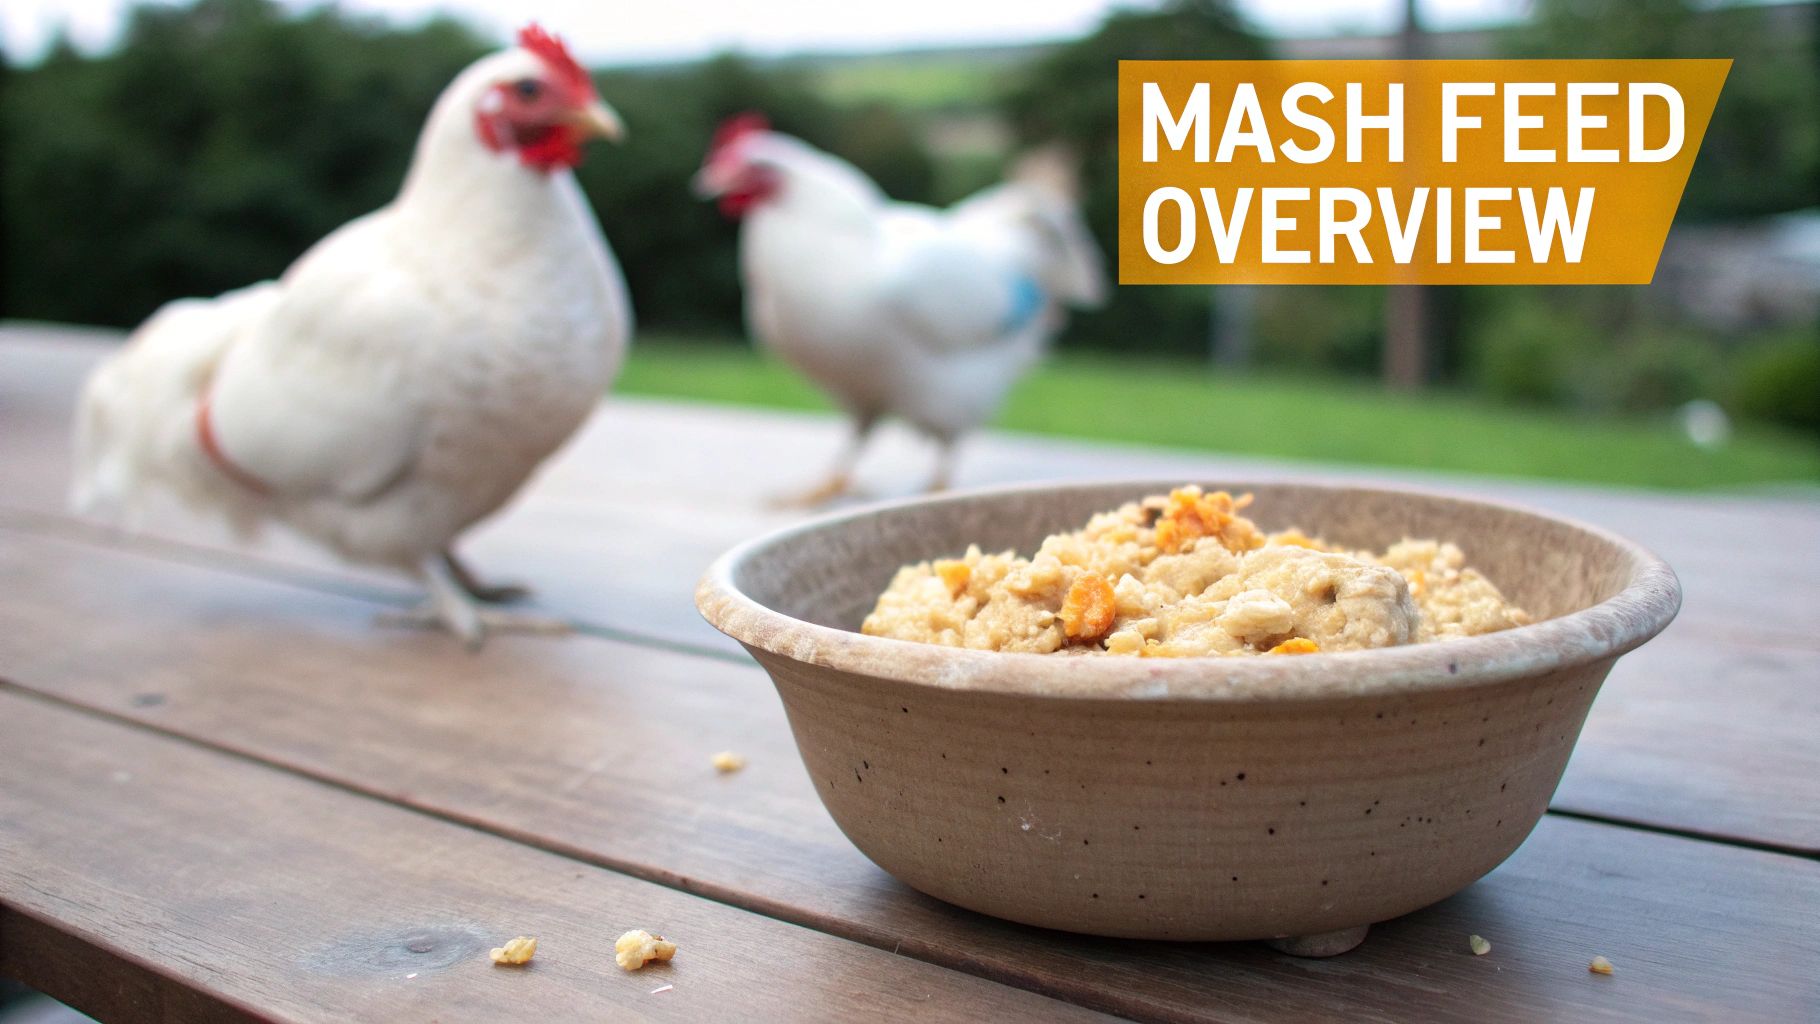
Think of mash as a build-your-own granola bowl for chickens. You choose grains, seeds, and supplements just like picking oats, nuts, and fruits. As birds scratch and peck through the mix, you’ll see less waste and more eagerness at the feeder.
- Cost Savings: Loose mash typically costs 5–15% less per ton than pelleted feed.
- Formulation Flexibility: Swap ingredients to adjust protein, energy, or minerals in minutes.
- All Life Stages: One base mix covers starter, grower, and layer rations with simple tweaks.
“Switching to mash cut our feed waste by 12% weekly.”
Why Some Keepers Prefer Mash
Backyard homesteaders often praise mash for its quick mixing and tighter budget control. It’s simple to fold in garden scraps or mill run when you want to stretch feed dollars.
That said, mash can spoil faster if it absorbs moisture. Invest in cool, dry storage bins and check for clumps regularly to avoid mold.
Aim for 20–24% protein in starter rations, tapering to 16–18% for laying hens. Keep calcium and energy balanced to support strong eggshells and efficient growth.
Compared to crumbles, mash demands less processing power. And unlike pellets, you can tweak recipes on a whim—just handle your mix with care.
Making The Swap
Plan on a 7–10 day transition. Start with 25% mash and boost by 25% each week until you reach a full mash diet.
- Gradual Transition: Mix mash into current feed in stages.
- Storage Prep: Use airtight bins to keep moisture out.
- Ingredient Quality: Always choose fresh grains and lab-tested supplements.
Before you commit, here’s a quick overview of the essentials:
Mash Feed Key Points
| Aspect | Details |
|---|---|
| Texture | Loose, crumbly mix that encourages natural pecking |
| Cost | Generally 5–15% lower per ton compared to pellets |
| Flexibility | Simple to adjust protein, energy, and minerals by swapping |
With these key points in mind, you’ll be ready to decide if mash feed fits your flock’s needs. It’s an affordable, adaptable approach—just keep storage and mixing smooth for the best results.
Understanding The Key Concepts
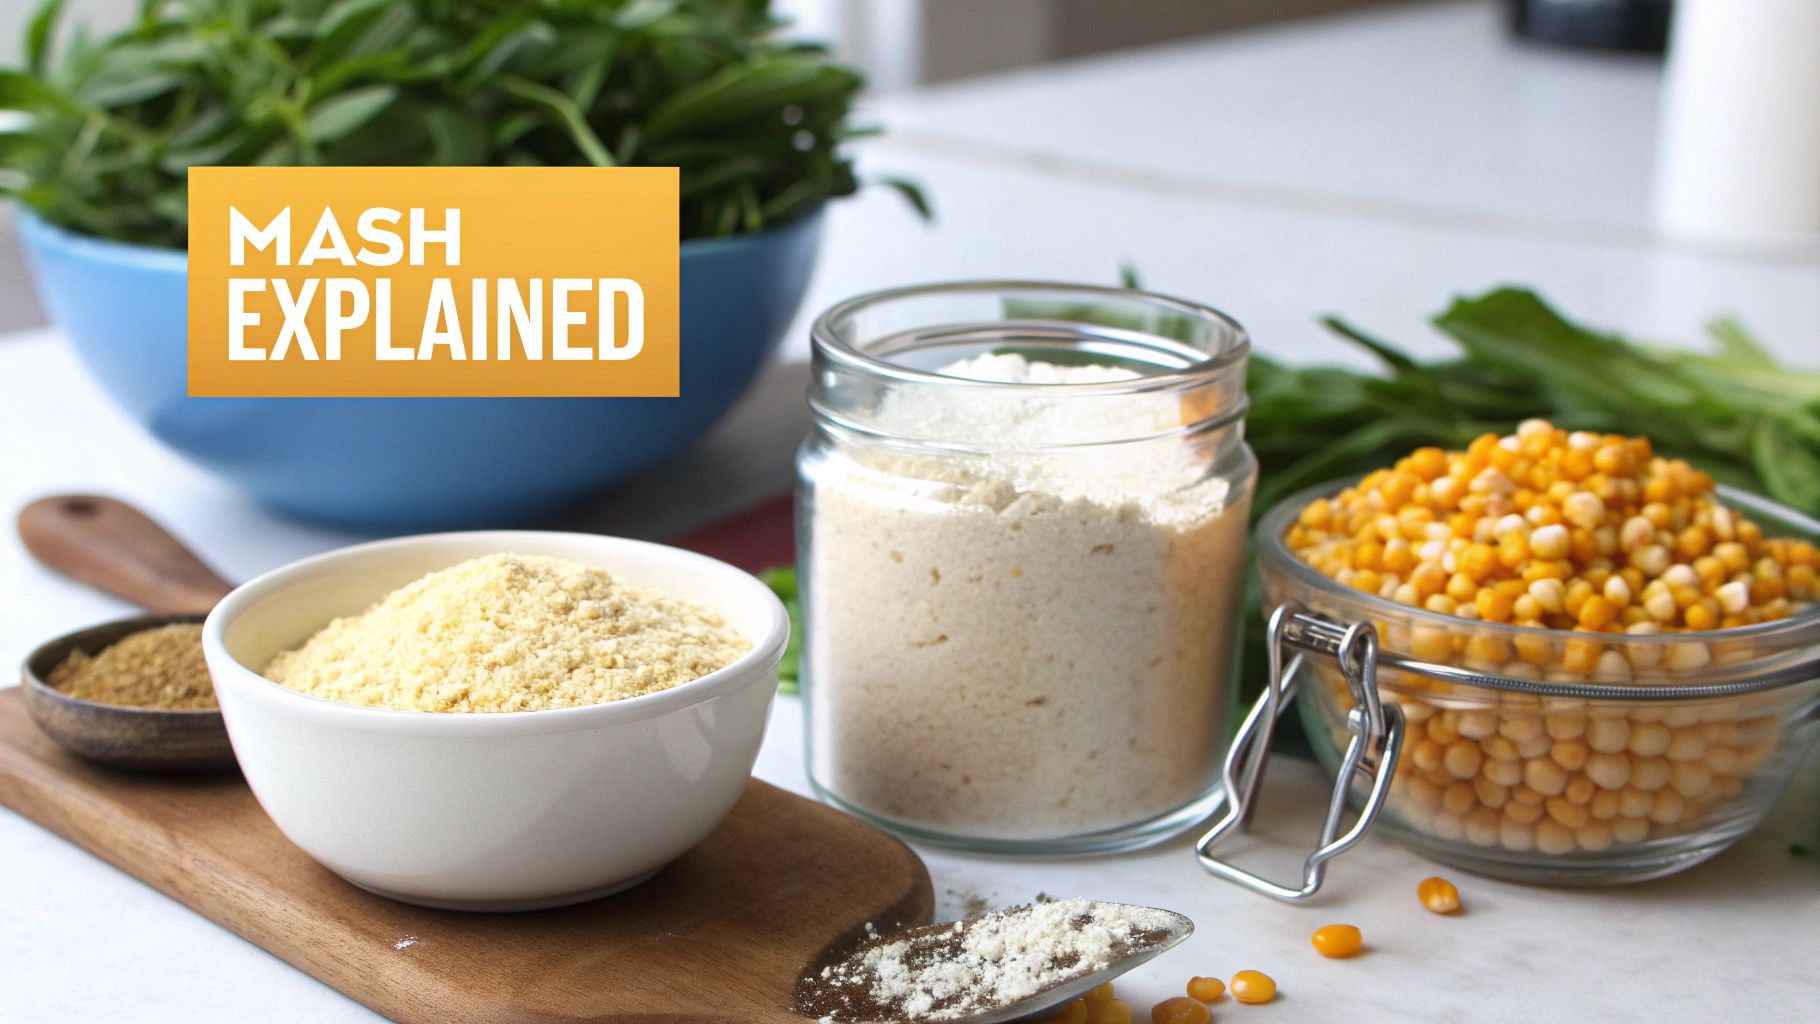
Feeding chickens mash starts by selecting grains that meet their energy needs and invite natural foraging. When grains are milled to a loose, crumbly texture, hens can scratch freely and you’ll see less wasted feed.
This open structure also speeds digestion, letting birds access nutrients quickly without clumps or blockages.
Key Ingredients And Their Roles
At its core, mash feed relies on three groups of ingredients:
- Grains deliver carbohydrates to power growth and daily activity. Corn, wheat, and barley are common choices.
- Protein Supplements like soybean meal or dried insect larvae boost muscle tone and egg production.
- Essential Minerals such as calcium and phosphorus keep bones strong and shells firm.
Each component serves its own purpose, so you can adjust proportions to suit pullets, layers, or growers.
The Milling Process Explained
Commercial mills typically use hammer or roller mechanisms to crack grains into fine particles. This step shapes your mash’s mouthfeel and mixing performance.
- Keep moisture under 12% to avoid clumping.
- Tweak mill settings until particle sizes feel consistent.
- Clean equipment after each batch to prevent cross-contamination.
On smaller farms, an electric mill or hand grinder offers hands-on control. Just build in regular cleaning and wear inspections to maintain uniformity.
Trail Mix Analogy For Mash
Think of mash as a savory trail mix designed for chickens. Each scoop blends variety, texture, and flavor that keeps birds curious.
| Mash Feed | Trail Mix Snack |
|---|---|
| Loose grains | Nuts and dried fruits |
| Protein boosts | Mixed seeds and clusters |
Evolution Of Mash Feed
Mash was the backbone of commercial poultry diets for much of the 20th century. It still commands a slice of a USD 217–220 billion global feed market.
Pelleted rations dominate broiler operations, thanks to lower waste and smoother conversion. Yet mash remains popular with smallholders and specialty layers who value recipe flexibility.
Read the full research about global poultry feed on ResearchAndMarkets.com
Mash’s adaptability has kept it relevant in diverse poultry systems.
Mash Feed In Today’s Global Landscape
Modern mash production combines time-tested methods with strict quality controls. Mills inspect every lot for moisture, mycotoxins, and grind consistency.
Want a deeper dive into feed formats? Check out our guide on kinds of poultry feeds.
Production Methods That Determine Quality
Small tweaks at the mill can yield big results in the coop. Consider these practices:
- Source non-GMO grains to ensure clean, consistent batches.
- Monitor mill wear and replace parts before particle size drifts.
- Run nutrient tests on small samples prior to full-scale mixing.
Placing Mash Feed In Context
While pellets dominate large-scale broiler operations, mash still shines for small-scale and heritage flocks. You can incorporate farm byproducts—crushed grains, shell grit, garden scraps—to cut costs and recycle nutrients.
Analysts predict steady demand for mash alongside growth in layer segments, making it a go-to choice for diverse poultry setups.
With these fundamentals in hand, you’re ready to compare feed formats and dive into practical recipes.
Using Mash Feed In Backyard Settings
For backyard flocks, mash offers unmatched flexibility in small batches. Mix fresh grains with lab-tested supplements or safe garden leftovers for a custom blend.
A simple feeder tweak—elevating it a few inches—cuts spills and keeps feed clean. In humid climates, rotate stock quickly or tuck silica gel packs into storage bins to ward off mold.
Now, let’s move on to feed format comparisons and hands-on mixing tips.
Comparing Mash Feed With Other Feed Forms
Mash feed feels like dumping a bowl of mixed grains into the run—birds tuck in and sort through at their own pace. Pellets, on the other hand, are uniform cylinders that lock every nutrient into each bite. Crumbles slot neatly between the two: small, irregular bits that help chicks learn to peck without overwhelming them.
- Mash lets you tweak protein, energy and mineral ratios on the fly.
- Pellets cut down on feed sorting and shrink waste by sealing nutrients in a consistent form.
- Crumbles bridge the gap, easing day-old chicks onto solid feed.
Nutritional Flexibility And Feed Conversion
Mash shines when you need precise control. A typical broiler starter mash runs 20–24% crude protein with 12–13 MJ/kg (around 2,900–3,100 kcal/kg) of energy. Switch to layer mash and protein dips to 16–18% while calcium climbs to 3.5–4.5% for stronger shells (Discover mash feed formulation on KenResearch).
Meanwhile, pellets prevent sorting and can improve feed conversion by up to 5% over mash. Crumbles sit in the middle: better conversion than mash but not quite as tight as pellets.
- Mash: variable conversion, high customization
- Pellets: lowest conversion ratios, limited tweaks
- Crumbles: moderate conversion, moderate flexibility
Cost And Waste Trade Offs
On a per-ton basis, mash often costs 5–15% less than pellets. It skips the energy-intensive pressing stage, saving on power and machinery wear. Home grinders and small mills can deliver big savings on raw grain.
Pellets do carry a premium, yet they can cut waste by 8–12% in large flocks. One Midwest farm invested $1,100 monthly in pellets and recouped $130 through reduced spoilage.
- Mash: simple milling, lower power draw
- Pellets: presses, binders and steam required
- Crumbles: extra milling or pellet-breaking step
Choosing The Right Format For Your Flock
Your ideal feed depends on bird age, flock size and labor overhead. Mash excels for mixed-age or small flocks where you might swap ingredients often. Pellets work best in automated, high-output broiler houses. Crumbles remain the go-to for starter chicks transitioning off mash.
“Swapping mash for pellets in our coop meant cleaner feeders and faster growth,” recalls a farm manager in Iowa.
To help you weigh the options, here’s a quick side-by-side look at each feed form:
Comparison of Feed Types
| Feed Type | Advantages | Disadvantages |
|---|---|---|
| Mash | Tight ingredient control; lower cost | Potential for particle sorting; requires strict hygiene |
| Pellets | Consistent intake; minimal waste | Higher cost; recipe changes need mill downtime |
| Crumbles | Easy for chicks; moderate waste | Limited formulation swaps; extra processing step |
This table should help you pinpoint which format aligns with your flock’s needs and your operation’s budget.
Life Stage Applications
Each feed form has its sweet spot:
- Starter Chicks thrive on crumbles that are easy to peck and swallow.
- Growers benefit from mash you can tweak for 18–20% protein targets.
- Layers demand mash with up to 4% calcium to fortify eggshells.
A small homestead in Vietnam added crushed oyster shell directly into their layer mash and cut cracked eggs by 20%.
Transition Best Practices
Changing feed textures too quickly can stall intake. Start by mixing 25% new feed with 75% old for the first week. Then boost the new formula by 25% increments each week until you’re fully switched over.
- Measure precise ratios with a kitchen scale.
- Watch pecking behavior; if birds sort out fines, add a little moisture.
- Record daily intake to catch any dips in appetite early.
- Check eggshell quality weekly to confirm calcium levels.
- Introduce insect supplements such as Pure Grubs BSFL gradually and monitor reactions.
Always clean feeders thoroughly to keep mold and pathogens at bay. By balancing life stage needs, cost, waste and conversion rates, you’ll land on the perfect feed form for your flock—fast.
When To Use Mash Feed For Chickens
Choosing the right feed often comes down to bird age, flock size, and local conditions. Mash feed steps in when you need precise control over nutrients and want to cut down on leftovers.
In young chicks, a high-protein mash helps them grow strong. Older layers benefit from extra minerals that keep eggshells firm.
- Starter chicks (0–6 weeks): 20–24% protein
- Growers (6–16 weeks): 18–20% protein
- Layers (16+ weeks): 16–18% protein with 3.5–4.5% calcium
Backyard farms and homesteads love mash for its on-the-go adjustments. In Peru, one small farm sliced feed costs by 12% using starter mash blends. In Vietnam, adding custom grains to layer mash cut eggshell defects by 20%.
Decision Factors To Consider
A few key points will help you decide if mash feed suits your setup. Storage, humidity, and market access all play a part in spoilage risk and ingredient choice.
- Local availability of quality grains and supplements
- Production goals (egg volume vs. meat yield)
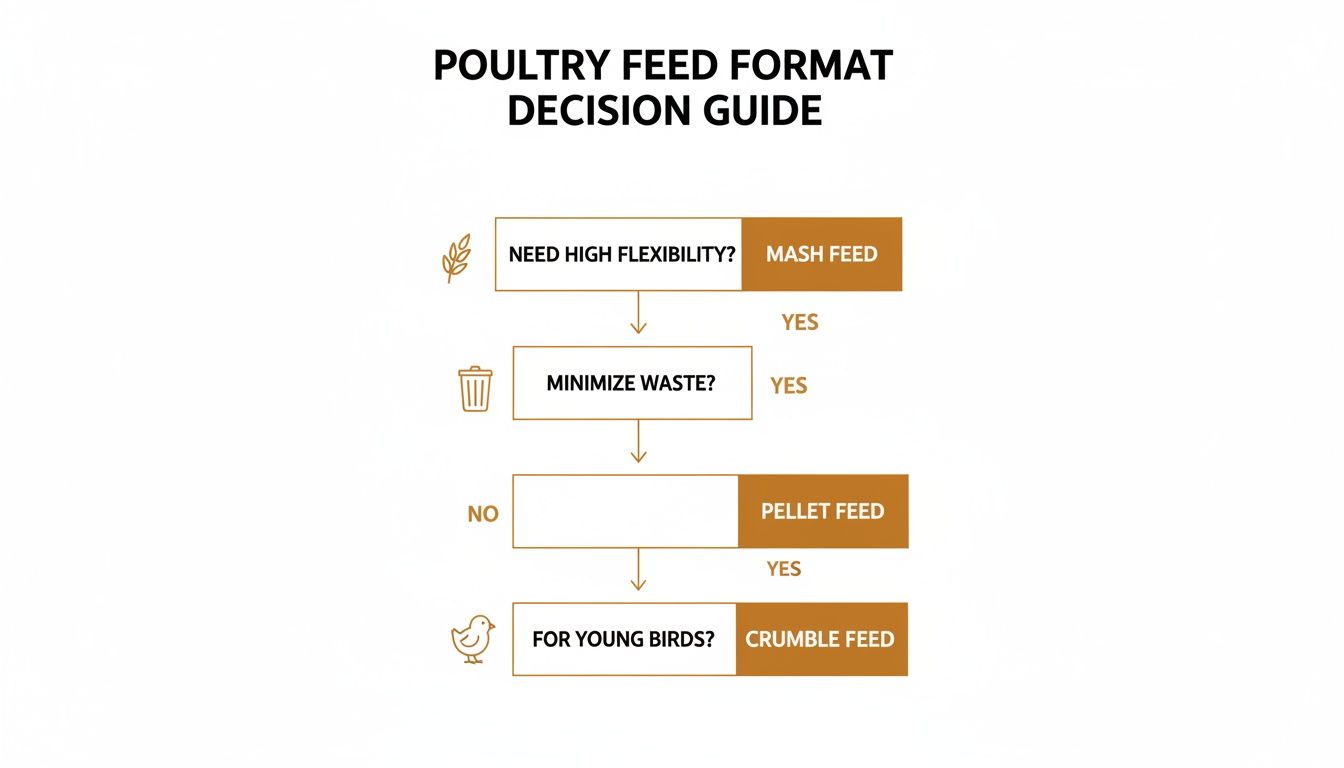
This decision tree highlights scenarios where mash wins on flexibility. Global poultry feed demand is rising, with market values projected around USD 208–220 billion by 2024–2025 and climbing toward ~USD 293 billion by the early 2030s, according to DataBridge Market Research.
For real-world recipes on boosting protein without extra expense, check out our guide on high-protein foods for chickens.
Proper feed choice can cut costs and improve flock performance without extra labor.
By matching mash to bird stage, climate, and resources, you turn feed into a tailored tool rather than a one-size-fits-all formula.
Supplement Mash With Insect Treats
Dried black soldier fly larvae (BSFL) add protein and calcium to your mash without moisture issues. These natural snacks are easy to mix and highly palatable.
- Start at 2% of total mash by weight
- Blend thoroughly to avoid clumps
- Watch bird intake and tweak ratios as needed
Small Flock Versus Large Operations
If you keep fewer than 50 birds, mash offers quick batch turns and recipe tweaks on demand. A single scoop can satisfy several hens with minimal waste.
Larger farms often lean toward pellets or crumbles, thanks to automated systems and longer shelf life. Managing mash moisture and batch size at scale requires extra equipment and planning.
- Small flocks: manual blending, fast turnover, custom recipes
- Large setups: bulk storage, moisture control, streamlined dosing
Understanding your operation’s scale ensures mash feed delivers peak results every time.
Simple Mash Feed Recipes And Feeding Schedules
Preparing your own mash puts you in the driver’s seat with both cost and content. By tweaking the ratios, you can hit that 20% protein sweet spot to get chicks growing fast without leaving a pile of wasted feed behind. You can even stir in extras like probiotics or enzymes to keep those little guts happy and efficient.
Starter Mash Recipe
Kick off the mix with a sturdy grain base and a solid protein punch.
Ingredients for a 100 lb batch:
- 50% crushed corn for quick energy
- 25% hard red wheat adds texture and protein
- 20% soybean meal to dial in 20% crude protein
- 5% calcium grit or ground oyster shell for strong bones
This blend clocks in at around 2,900 kcal/kg, setting the stage for healthy, vigorous chicks.
Mixing Instructions
Accuracy matters when you’re crafting a uniform mash.
- Use a digital scale to measure each ingredient.
- In a clean mixer or tub, combine all dry components.
- Add water gradually until the moisture level hits roughly 12%.
- Stir until the mash feels damp but not soggy.
A consistent texture keeps clumps and spoilage at bay.
Grower Mash Recipe
Around six weeks, birds shift from rapid growth to steady gains. Adjust the blend to:
- 45% corn
- 30% wheat bran or barley
- 20% soybean meal
- 5% enzyme mix or probiotic powder
The goal here is roughly 18% protein and 2,800 kcal/kg to keep growth on track without overloading their systems.
Finisher And Layer Mash Recipes
When birds near finishing or start laying, fine-tune the mash again:
For meat finishers (last 3 weeks):
- 60% corn
- 20% wheat
- 18% protein meal (soy or insect-based)
- 2% vitamin-mineral premix
For laying hens (16+ weeks):
- 50% grain mix
- 30% protein meal
- 15% crushed oyster shell
- 5% kelp powder
Keeping calcium between 3.5–4.5% is key for eggshell strength.
Mash Feed Recipes And Feeding Schedules
Here’s a quick guide to matching mash blends with your flock’s stages. Use this table as a baseline and tweak to your farm’s unique grains or byproducts.
| Life Stage | Ingredients | Protein % | Feeding Frequency |
|---|---|---|---|
| Starter | Corn, wheat, soybean meal, calcium grit | 20 | Free choice, 0–6 weeks |
| Grower | Corn, wheat bran, soybean meal, enzymes | 18 | Free choice, 6–16 weeks |
| Finisher | Corn, wheat, protein meal, premix | 16 | Twice daily, last 3 weeks |
| Layer | Grain mix, protein meal, oyster shell, kelp | 17.5 | Free choice, laying phase |
With the right schedule, each life stage gets precisely what it needs.
Practical Tips And Troubleshooting
A hands-on feel test beats guesswork any day. If clumps show up, spread the mash across a tray to let it air dry or stir in a bit more dry mix. Always rotate batches every 48 hours to stop spoilage.
- Sniff for off odors before feeding
- Store mash in airtight bins with desiccant packs
- Label bins with mix dates and ratios
Supplementing Mash With Black Soldier Fly Larvae
Dropping 5% dried BSFL into your mash brings an extra boost of calcium and protein. For a 100 lb batch, that’s 5 lb of larvae mixed in.
- Weigh larvae carefully
- Blend thoroughly for even distribution
- Track bird acceptance over the first 3 days
Some backyard keepers report up to 8% heavier eggs after a month of BSFL inclusion.
Tracking Feed Performance
Keep daily logs of feed offered versus leftovers, noting body weights weekly to gauge FCR. Aim for an FCR under 2.0 during the grower phase for best cost efficiency.
- Total feed intake per week
- Egg weight and output
- Mortality and health checks
Over time, these numbers guide you on when to tweak protein or energy levels, turning raw data into sharper decisions.
If you want to dive deeper into homemade blends, check out Homemade Chicken Feed Recipe.
Cheers to perfecting your mash!
Storage And Safety With Troubleshooting Tips
Storing mash feed is a lot like tucking in a prized loaf of homemade bread—you need to keep it dry, fresh, and safe from intruders. A little attention at this stage goes a long way in protecting your flock’s health.
Moisture, pests, and mold can turn your carefully blended mash into a hazard. Catching issues early saves time, money, and stress down the road.
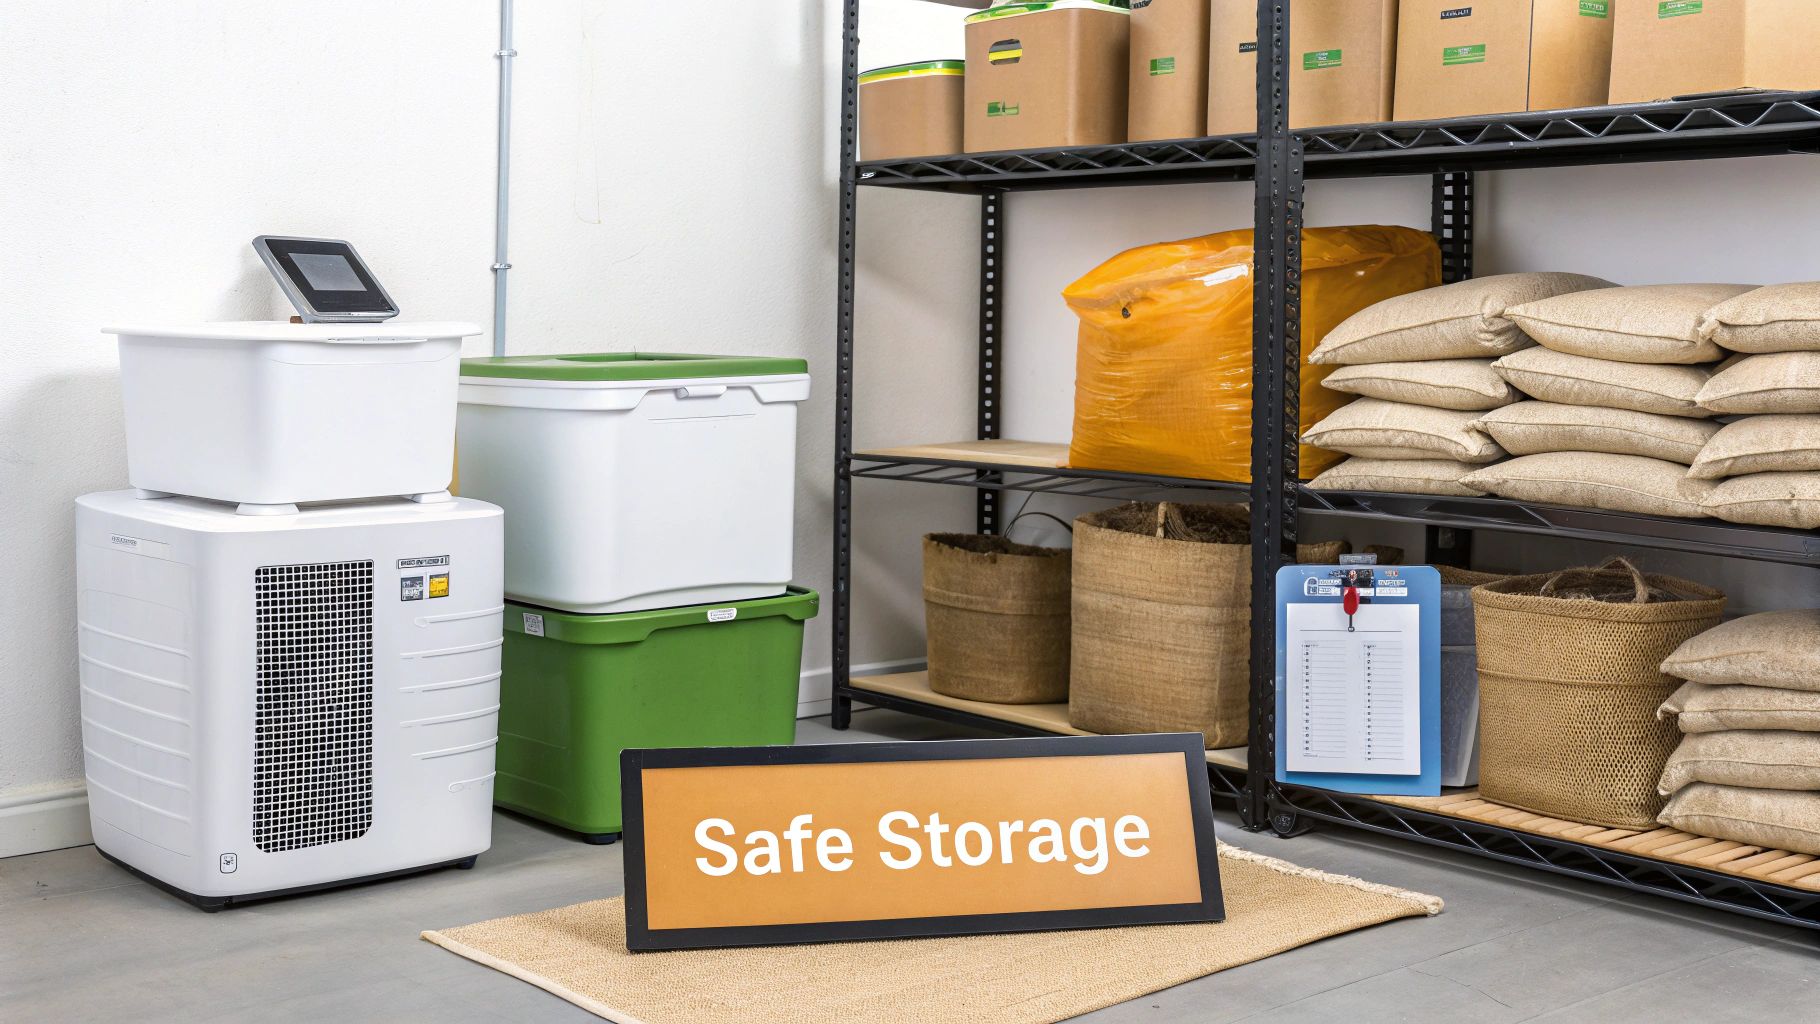
Moisture Control Methods
Think of moisture control as the foundation for crisp, crumbly mash. Without it, you’re inviting clumps and mold to settle in.
Use drying trays or seed spreaders to pull out extra dampness before you seal the feed away. In steamy climates, a dehumidifier can hold ambient moisture under 12%, keeping your mash in top shape.
- Drying Trays: Spread mash on mesh trays in the sun or a warm shed for 2–4 hours to shed excess water.
- Dehumidifiers: Aim for relative humidity below 60% in storage rooms to fend off fungi.
- Silica Gel Packs: Tuck a few desiccant packs into your containers for an extra layer of dryness.
Pest Exclusion Techniques
Once that feed is dry, you still need a fortress against rodents and bugs. Even a tiny gap can become an invitation.
Choose airtight containers certified for food storage—they’re your best bet against critters. Regular checks make all the difference.
- Metal or Thick Plastic Bins: Sturdy walls that rodents can’t gnaw through.
- Tight-Fitting Lids: Snug seals keep beetles and ants at bay.
- Routine Inspection: Give seals and bins a weekly once-over to catch wear or damage early.
“Always follow FDA and AAFCO guidelines when storing feed to reduce contamination risk.”
Spotting Spoilage Early
A quick glance and sniff can save a whole batch. Mold, mycotoxins, or rancidity aren’t always dramatic, but they’re dangerous.
Be on the lookout for strange colors, dusty clumps, or sour odors. If something seems off, your instincts are usually right.
- Visual Signs: White, green, or black spots are classic mold indicators.
- Smell Test: Sour or musty aromas point to spoiled feed.
- Texture Check: Sticky clumps or hard lumps signal moisture has crept in.
| Issue | Symptom | Solution |
|---|---|---|
| Clumping | Lumps in feed | Spread on trays to dry or mix in fresh mash |
| Off-Odor | Sour smell | Discard the batch and sanitize containers |
| Uneven Consumption | Some feed untouched | Tweak mix ratios or adjust feeder height |
Troubleshooting Feed Issues
Even with rock-solid storage, problems can pop up at the feeder. Catching them fast keeps waste to a minimum.
- Check feeders each morning for damp spots, pests, or debris.
- Wash feeders weekly with mild detergent and hot water.
- Rotate stock so older mash gets used first—fresh always follows seasoned.
Daily And Weekly Checklists
A quick routine helps you stay ahead of trouble without adding hours to your day.
Daily
- Inspect feeders for moisture and contamination before each meal.
- Watch your flock’s behavior—hesitation at the feeder is a red flag.
Weekly
- Empty and scrub bins and feeders thoroughly.
- Measure humidity in storage and ensure container seals hold tight.
- Log any spoilage or oddities for future reference.
Extended Storage Guidelines
Planning ahead means your mash stays at peak quality, even if you’re storing for months. Rotate stock every three months to keep things fresh.
- Label each bin with mix date and ingredient ratios for quick checks.
- Keep containers off the floor and away from walls to curb condensation.
- Use a humidity gauge inside each storage area for constant monitoring.
- Choose opaque bins to block light and preserve nutrients.
- Elevate bins slightly on a rack to dodge ground moisture.
- Keep a storage log, note any unusual smells, and replace bins as needed.
With these steps in place, your mash feed will stay crisp, safe, and ready to fuel healthy, thriving chickens.
FAQ
Have questions about mash feed? This FAQ covers the most common concerns with clear, practical tips you can apply right away.
Adjusting Protein Levels For Different Breeds
Protein requirements shift with age and chicken type. A Rhode Island Red layer generally needs 16–18% crude protein, while broiler crosses often do best on 20–24%.
- Start with the mash ratio in our recipe section.
- Adjust soybean meal up or down in 2% increments.
- Monitor growth or shell quality over two weeks before tweaking further.
Long-Term Storage Strategies
Storing mash correctly prevents spoilage and nutrient loss.
- Keep mash in airtight bins with desiccant packs.
- Maintain storage-room humidity under 60%.
- Rotate your stock every three months to use the oldest mash first.
“Check for clumping daily to prevent mold and nutrient loss.”
Safe Additive Use
Supplements can boost flock health—if you get the balance right.
- Probiotics: Mix in at 0.5% by weight.
- BSFL (Black Soldier Fly Larvae): Add 2% dried larvae for extra calcium.
- Follow your feeding schedule closely to avoid over-supplementing.
Troubleshooting Feeding Challenges
Leftovers, odd smells, or fussy eaters? This table helps with quick fixes:
| Issue | Quick Fix |
|---|---|
| Clumping | Air-dry mash or blend in a dry extender |
| Uneaten Feed | Adjust moisture level or raise feeder height |
| Off-Odor | Discard batch and sanitize feeding bins |
How To Transition Feed
Switching from pellets or crumbles to mash is easiest when you go slow:
- Day 1–3: Mix 25% mash with existing feed.
- Day 4–7: Increase to 50% mash.
- Day 8–10: Move to 75% mash, then switch to 100%.
Watch pecking activity and body weight to ensure your birds adapt smoothly.
For in-depth recipes, advanced storage tips, and detailed additive guidelines, explore the rest of this guide. Bookmark this FAQ for easy reference next time you adjust your mash mix.
Ready to give your flock a protein-packed, high-calcium boost? Try Pure Grubs.