
Incubator Temperature for Hatching Eggs: Essential Tips
When it comes to hatching eggs, the single most critical factor for success is temperature. For most common poultry like chickens, the sweet spot in a forced-air incubator is 99.5°F (37.5°C). Sticking to this number as closely as possible is what makes or breaks your hatch.
Why Temperature Is the Secret to a Successful Hatch
Think of the incubator's temperature as the engine driving all embryonic growth. You're essentially trying to replicate the perfect, consistent warmth a mother hen provides. That steady heat is what kickstarts the biological magic, turning a simple yolk and albumen into a living, breathing chick in just 21 days.
This is where precision really matters. If your temperature runs even one degree too high, you risk speeding up development unnaturally. This can lead to deformities or cause the embryo to perish. On the flip side, a temperature that’s too low slows everything down, often resulting in weak chicks that either fail to hatch on time or simply don't have the strength to make it out of the shell.
A Real-World Temperature Struggle
I’ve heard this story a hundred times from new hatchers. They get a brand-new incubator, diligently set it to 99.5°F, and trust the built-in digital display. But as the days pass, they notice the temperature fluctuating between 98°F and 101°F, especially when the temperature in the room changes. Unsure what to do, they cross their fingers and hope for the best.
Come hatch day, the results are heartbreaking. A few chicks emerge late, looking weak and struggling to stand. Others pip the shell but never progress further—a classic sign of exhaustion from poor incubation conditions. In most of these cases, the hobbyist later discovers two things: their incubator's factory thermometer was off, and they had placed the unit near a drafty window.
This scenario teaches a vital lesson: hatching eggs is never a "set it and forget it" activity. It's about active, hands-on management and truly understanding the why behind the numbers. Your commitment to a stable incubator temperature for hatching eggs directly impacts:
- Embryo Viability: Consistent heat is non-negotiable for proper cell division and organ formation.
- Hatch Timing: The right temperature keeps the developmental clock ticking correctly, leading to a synchronized hatch.
- Chick Strength: A stable environment gives you robust chicks with enough energy for the difficult job of breaking out of the shell.
The temperature inside your incubator is the foundation of your entire hatch. Without stability and accuracy from day one, even the most fertile eggs are set up to fail. Your attention to this one detail will pay off with healthy, vibrant chicks.
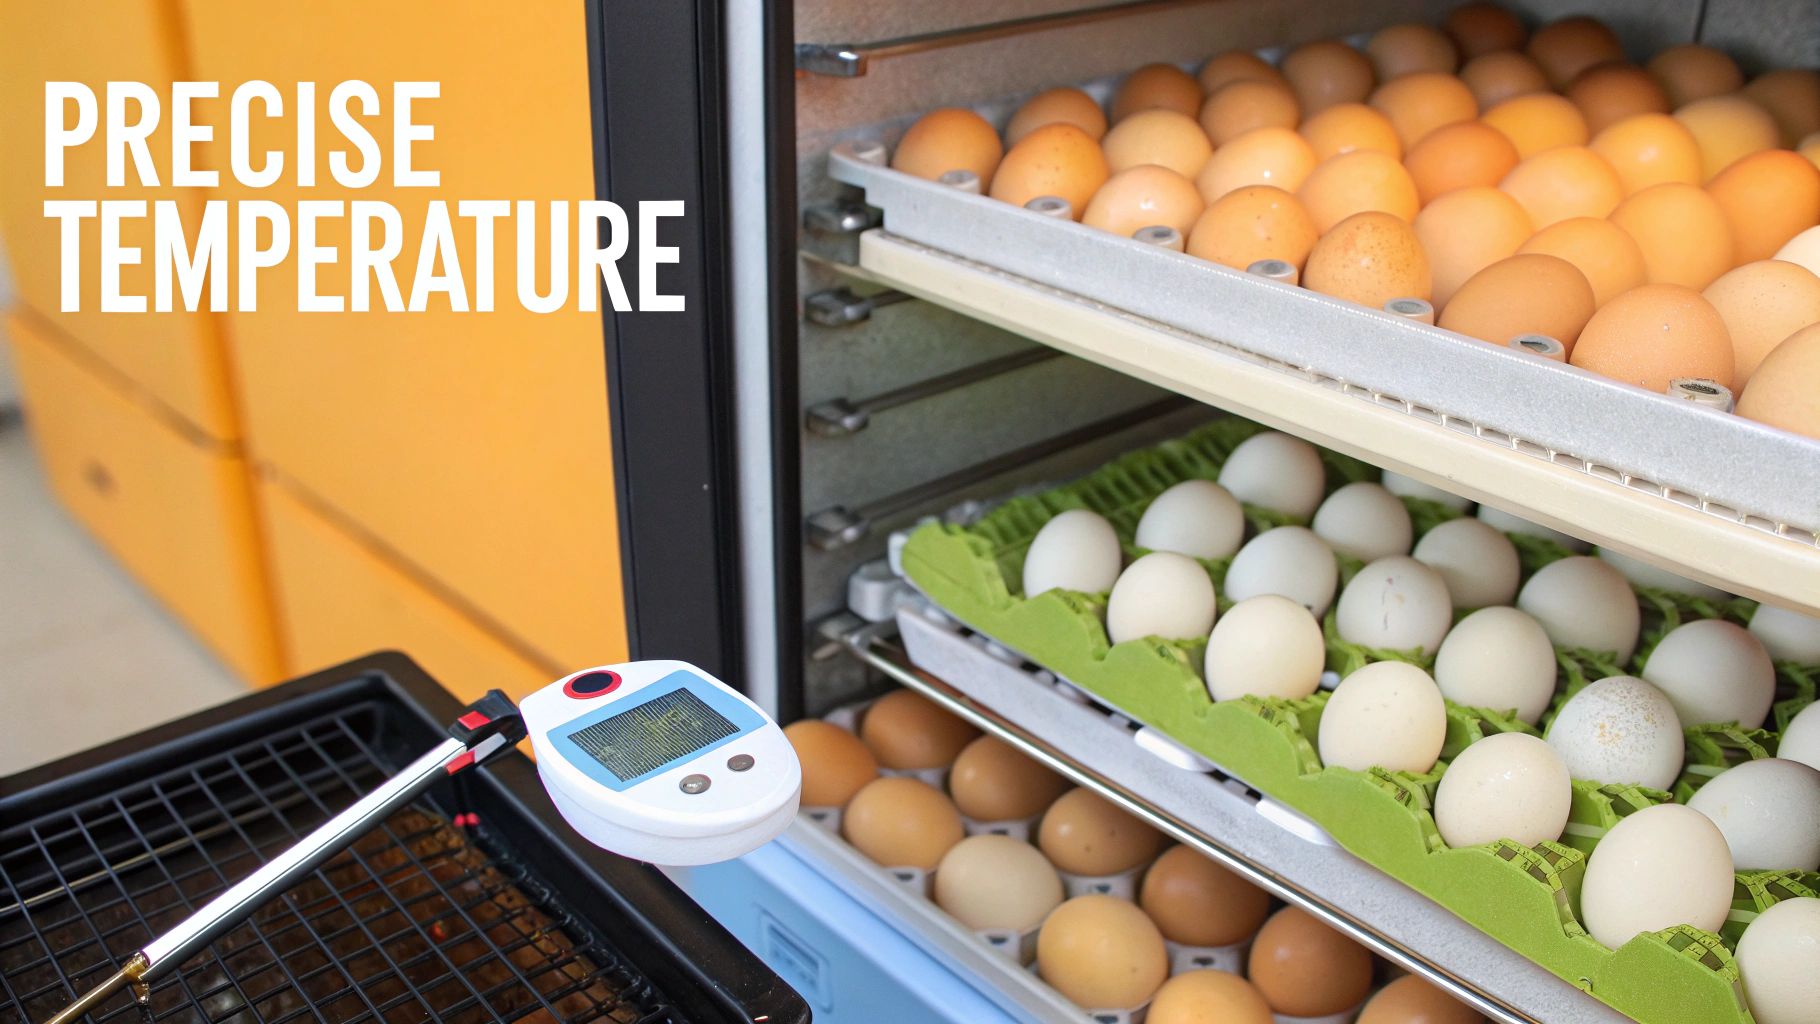
Calibrating Your Incubator for Pinpoint Accuracy
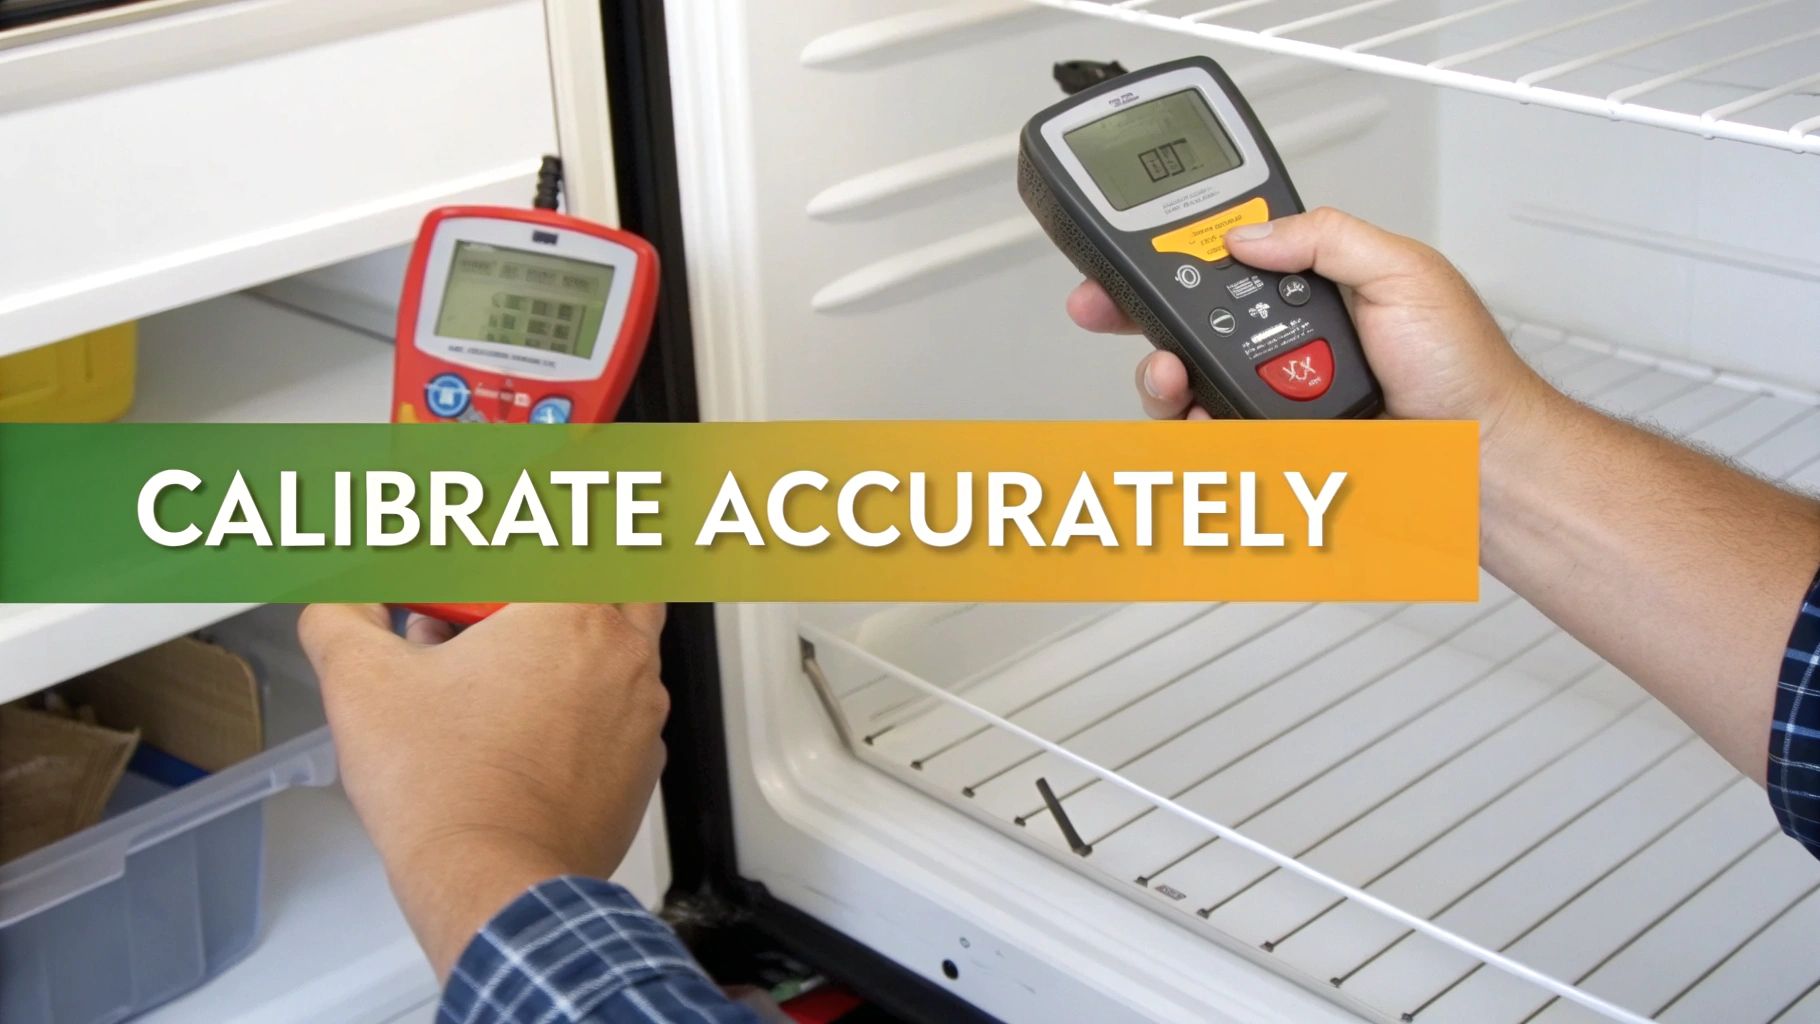
Before you even think about setting a single egg, there's a critical pre-flight check you can't afford to skip: calibration. I can't stress this enough—never, ever trust that the temperature on your incubator's display is the actual temperature inside. Factory sensors can be off by several degrees, and that small difference is often all it takes to ruin an entire hatch.
Think of your incubator's built-in thermostat as a rough guide. Your real, trustworthy data will come from an independent thermometer you've placed inside yourself. This isn't just a suggestion; it's a non-negotiable step for dialing in the perfect incubator temperature for hatching eggs.
Trust, But Always Verify Your Equipment
The whole point of this exercise is to get an accurate temperature reading right where the embryo develops—at the top of the egg. Just tossing a thermometer inside won't cut it. Placement is everything.
You'll need a reliable, calibrated thermometer that's completely separate from the incubator. I've had success with both digital and analog, but my pro tip is to use two different types. That way, you can cross-reference their readings and be absolutely certain of the temperature.
- Digital Thermometers: I recommend finding a model with a probe. This is a game-changer because you can position the sensor exactly at egg height while keeping the display outside the unit. No more opening the lid and wrecking your stable environment just to check the temp.
- Analog Thermometers: Good old-fashioned medical or lab-grade thermometers (mercury-free, of course) are often incredibly accurate. The only downside is you have to peer through the incubator's window to read them, which can sometimes be tricky.
With your trusted tools in hand, it’s time for the most important test run you'll ever do.
The 48-Hour Stability Test
The goal here is twofold. First, you need to see what the true internal temperature is. Second, you need to make sure your incubator can actually hold that temperature steady over time. You’d be surprised how much a draft from a nearby vent or a sunny spot by the window can cause fluctuations.
Here's how I run the test:
- Position Your Thermometers: Place your independent thermometer(s) inside the empty incubator. Make sure the sensor bulb is sitting at the exact height the top of an egg would be.
- Set Your Target Temp: Dial in your target temperature on the incubator's controls. For chicken eggs, a good starting point is 99.5°F (37.5°C).
- Run, Wait, and Record: Now, let the incubator run completely empty for at least 24 hours, though 48 hours is even better. Every few hours, check the readings on your independent thermometers (without opening the lid!) and jot them down.
Keep detailed notes. If you find your trusted thermometer consistently reads 98.0°F while the incubator display proudly shows 99.5°F, you've found your discrepancy: 1.5°F. To hit the true target, you'll need to set the incubator's display to 101.0°F.
Mapping Out Hot and Cold Spots
While you're running the stability test, you might discover that the temperature isn't uniform throughout the incubator. This is almost a given in still-air models that don't have a fan to circulate the heat.
But don't be fooled—even fancy forced-air incubators can have warmer and cooler zones. To find them, simply move your thermometer probe around to different spots: the center, the corners, and near the edges. Knowing where these micro-climates are is a huge advantage. It allows you to rotate your eggs strategically during incubation, making sure every single embryo gets the consistent warmth it needs to thrive.
This level of detailed calibration is what separates a disappointing hatch from a wildly successful one.
Ideal Temperature Settings for Different Bird Species
While 99.5°F (37.5°C) is the number everyone knows for chicken eggs, it's a huge mistake to think it's a one-size-fits-all setting. Every bird species operates on a slightly different biological clock. Setting the wrong temperature is probably the fastest way to ruin a hatch, even if you’ve done everything else right.
The first thing to get straight is what kind of incubator you’re using. The way it heats the air completely changes the temperature you need to dial in.
-
Forced-Air Incubators: These are the models with a fan. The fan keeps the air moving, creating a consistent temperature from top to bottom. It’s a huge advantage, allowing you to set the temperature to the precise 99.5°F (37.5°C) that chicken embryos need.
-
Still-Air Incubators: No fan here. Heat rises, which means the air at the top of the incubator will be warmer than the air at the bottom where the eggs are. To make up for this, you have to aim higher—usually around 101.5°F (38.6°C). This ensures the air at the level of the eggs is actually at that ideal temperature.
Temperatures for Common Poultry Species
This is where the details really matter. Even a half-degree difference, held steady over three or four weeks, can have a massive impact. Ducks, for instance, have a longer incubation period and their eggs are packed with more moisture, which affects how they hold and distribute heat.
The infographic below is a great visual reference for the optimal temperatures in a forced-air incubator for some of the most common backyard birds.

As you can see, chickens and turkeys are almost identical, but quail prefer things just a tad cooler to develop properly.
Recommended Incubator Temperatures by Species and Incubator Type
For a quick at-a-glance reference, I’ve put together this chart. It covers the most common species you’re likely to hatch and gives you the ideal starting points for both forced-air and still-air models.
| Bird Species | Forced-Air Incubator Temp (°F/°C) | Still-Air Incubator Temp (°F/°C) | Incubation Period (Days) |
|---|---|---|---|
| Chicken | 99.5°F / 37.5°C | 101.5°F / 38.6°C | 21 |
| Duck | 99.5°F / 37.5°C | 101.5°F / 38.6°C | 28 |
| Quail | 99.0°F / 37.2°C | 101.0°F / 38.3°C | 23-24 |
| Turkey | 99.5°F / 37.5°C | 101.5°F / 38.6°C | 28 |
Think of this table as your starting block. You'll still need to double-check everything with a calibrated, independent thermometer to ensure the temperature at egg-level is spot on.
Mimicking a Mother Hen in the Final Days
If you want to take your hatch rates from good to great, try fine-tuning the temperature to copy what happens in nature. Research has shown that keeping the eggshell temperature between 37.6°C and 37.9°C for the first two-thirds of incubation, then bumping it to 38.1°C to 38.8°C in the final days, produces stronger, higher-quality chicks. It’s a pro-level move.
As the embryos grow, they start giving off their own metabolic heat. During the last couple of days—what we call "lockdown"—all that combined heat can actually raise the temperature inside the incubator. To prevent overheating, many seasoned hatchers will drop the incubator’s set temperature by 0.5°F to 1°F. It’s a small adjustment that gives the chicks the best possible chance to finish strong.
If you’re raising chickens specifically for egg production, our guide on breeding chickens for eggs has even more detailed advice on the whole process.
Keeping a Watchful Eye on Temperature During Incubation
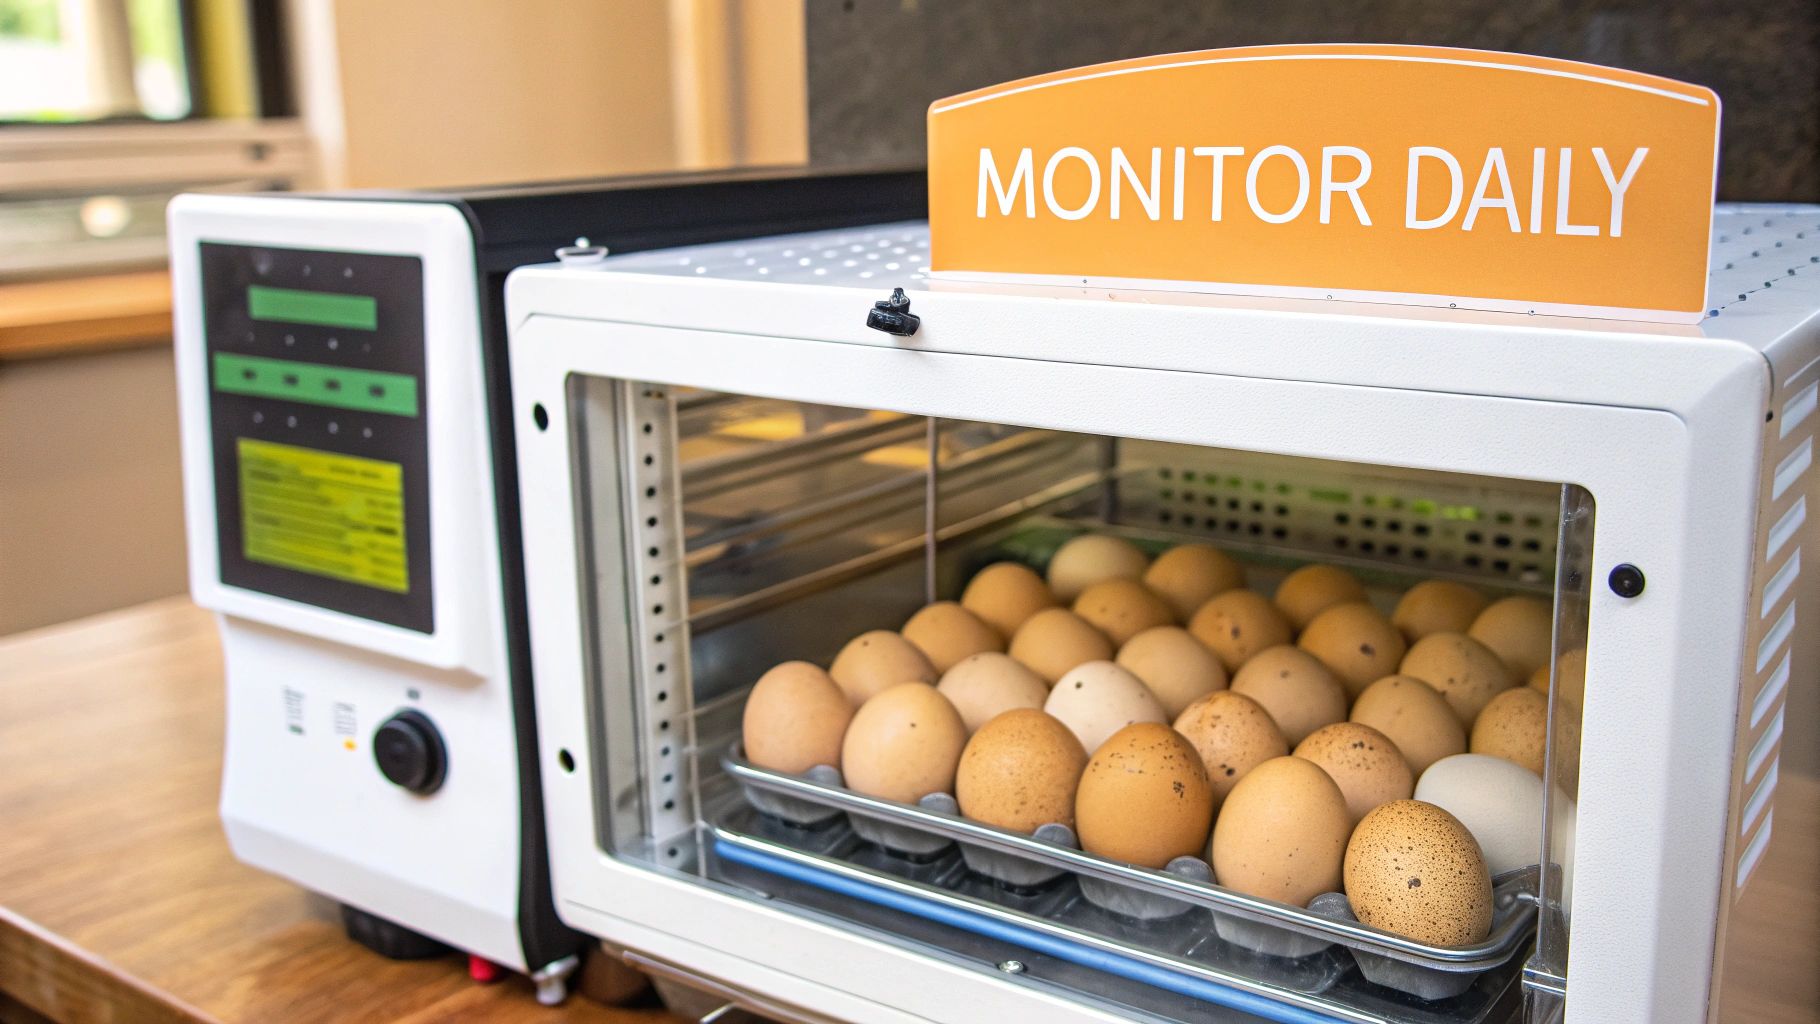
Getting the right incubator temperature on day one is just the starting line. The real secret to a great hatch lies in maintaining that temperature with a watchful eye. An incubator isn't a "set it and forget it" machine; it's a carefully controlled environment that needs your attention from the first day to the last pip.
A common mistake I see new hatchers make is underestimating the embryo's own heat. As those little chicks develop, they start generating a surprising amount of metabolic warmth. This can easily nudge the incubator's internal temperature up by a degree or more, which can be dangerous if you're not paying attention. That's why consistent monitoring is non-negotiable.
Finding a Stable Home for Your Incubator
Where you place your incubator matters more than you might think. If you set it up in a room with big temperature swings, drafts from windows, or direct sunlight, the machine will constantly struggle to hold a steady temperature. This fight almost always leads to heat fluctuations and, ultimately, a disappointing hatch rate.
The best bet is to find a spot with the most stable ambient temperature you can, like an interior closet or a basement. You're looking for a room that consistently stays between 70-75°F (21-24°C). This simple choice takes a huge amount of strain off your incubator's thermostat, making its job of holding a steady temperature much, much easier.
It's fascinating how the relationship between the incubator's air temperature and the egg's internal temperature evolves. For the first week or so, the egg is cooler than the air. But as the embryo grows, its metabolic heat can actually make the egg hotter than its surroundings. This is a critical shift to understand, especially late in the game. You can dive deeper into this science over at Hatchability.com.
What to Do When Things Go Wrong
Even in a perfect setup, life happens. A power outage is every hatcher's nightmare, but it doesn't automatically mean the end of your brood.
- Power Outages: If the power cuts out, the number one rule is do not open the incubator. A decent, well-insulated unit can hold its heat for a few hours. To extend this time, you can carefully wrap the entire incubator in thick blankets or towels.
- Sudden Temperature Drops: If you see the temperature fall unexpectedly, do a quick check for simple things first, like an unplugged cord or a new draft. If it seems like the heater is on the fritz, you might be able to buy some time with a heating pad on its lowest setting placed nearby or a warm (not hot!) water bottle inside the unit while you figure out a permanent fix.
Fine-Tuning for Lockdown
Those last three days before hatching, known as the "lockdown" phase, are when your monitoring is most crucial. Think about it: you have a dozen or more fully developed chicks all producing body heat at the same time. This collective warmth can easily push the temperature into the red zone.
To counteract this, many seasoned hatchers will manually lower the incubator's set point by 0.5°F to 1.0°F right at the start of lockdown (day 18 for chickens). This small change compensates for the extra heat the chicks generate, preventing them from overheating just as they need to start the hard work of hatching.
This level of hands-on management is what ensures your incubator temperature for hatching eggs gives the embryos what they need at every critical stage. Of course, all this effort is only worth it if the eggs are fertile to begin with. To be sure you're starting with viable embryos, take a look at our guide on how to check if chicken eggs are fertilized.
Troubleshooting Common Temperature-Related Hatch Problems
Even when you’ve been diligent with calibration and monitoring, a hatch can still go wrong. When it does, the incubator temperature for hatching eggs is almost always the first suspect.
The key is to learn how to read the signs of a poor hatch. Think of yourself as a detective performing some post-hatch forensics. This way, you can figure out what went wrong and make sure it doesn't happen again.
A classic sign of trouble is the timing of the hatch. If the entire batch hatches a day or two late, your temperatures were consistently too low. Even a seemingly tiny drop of half a degree over 21 days can slow down development, resulting in weak chicks that just don't have the energy to hatch on time.
On the flip side, what if your chicks start pipping on day 19 or 20? That’s a clear indicator your incubator was running too hot. This rushes their growth, and you often end up with smaller, less vigorous birds.
Analyzing Specific Hatch Issues
Don't just toss the unhatched eggs. It’s worth taking a moment to perform an "egg-topsy" to search for clues. Different problems point to very specific temperature mistakes.
-
Early Embryo Death (Days 1-7): You candle the eggs and find a blood ring or see that development stopped very early on. Severe temperature spikes are the usual culprit here. Just a few hours above 103°F (39.4°C) can be lethal during that fragile first week.
-
Sticky Chicks: This is a frustrating one. The chick pips the shell but seems glued to the membrane, unable to turn and zip its way out. While this is often a humidity issue, consistently high temperatures are a major contributing factor because they accelerate moisture loss from the egg.
-
Malformations: Finding deformities like crossed beaks or exposed organs can be jarring. These are often linked to extreme temperature swings. An embryo’s development is an incredibly precise process, and erratic temperatures throw a wrench in the works at the most critical moments.
A disappointing hatch isn't a failure—it's data. Each problem, from a late hatch to a malformed embryo, tells a story about the incubator environment. Use these clues to fine-tune your process and aim for perfection next time.
The incubator's design, the room's ambient temperature, and even how many eggs you load into it all play a role in maintaining that perfect, stable environment. Your goal is always that sweet spot around 99.5°F (37.5°C) to get the best hatch rates and healthiest chicks. As the egg incubator market on Polarismarketresearch.com shows, technology is always improving, but the biological needs remain the same.
Ultimately, troubleshooting is all about connecting the outcome to your temperature data. Did you have a two-day late hatch? Check your log. If it shows the temp consistently dipped to 98.8°F, you’ve found your smoking gun.
By paying attention and addressing these issues, you turn a learning experience into a future success. Of course, a great hatch starts long before the incubator, beginning with healthy hens. You can learn more in our guide on how to improve egg quality.
Common Questions About Incubator Temperature
No matter how much you prepare, questions are bound to pop up in the middle of a hatch. Having solid answers you can trust is the key to staying calm and keeping things on track. Let's tackle some of the most common worries I hear about managing incubator temperature for hatching eggs.
What If My Temperature Is Too High or Low for a Few Hours?
This is easily one of the biggest fears, especially when the power goes out. The good news? A brief temperature dip for a few hours usually isn’t a total disaster.
When it gets too cool, embryo development simply slows down. Once you get the heat back on, they typically pick right back up where they left off. Your hatch might be a little delayed, but in most cases, the embryos will be just fine.
High temperatures are a different story—and much more dangerous. Even just a couple of hours above 103°F (39.4°C) can be lethal, especially during that fragile first week. If you discover the temperature has spiked, your only move is to correct it immediately and focus on rock-solid stability from then on.
Should I Change the Temperature During Lockdown?
For many common backyard birds like chickens, the answer is yes. It's a widely accepted practice to slightly lower the temperature during the last three days of incubation, what we call the lockdown period. A small drop of about 0.5°F to 1°F (around 0.3°C to 0.5°C) is pretty standard.
This little adjustment does two important things:
- It mimics what a mother hen does naturally, as she might start getting off the nest more frequently as hatching gets closer.
- It helps prevent the embryos from overheating. At this stage, the fully developed chicks are generating a surprising amount of their own metabolic heat.
A Quick Word of Advice: This is a fantastic trick for chickens, but it's not a one-size-fits-all rule. Before you touch that dial during the critical lockdown phase, always double-check the specific guidelines for the species you're hatching.
How Can I Manage Incubator Hot Spots?
Uneven heating can be a real headache. It’s most common in still-air incubators that lack fans, but it can crop up in any model. The first thing to check is your setup. Make sure your incubator is on a perfectly level surface in a room with a steady temperature, far from sunny windows or drafty doorways.
The most practical way to deal with hot spots is to simply rotate the eggs' positions inside the incubator when you do your daily turning. Just move the eggs from the middle to the outer edges, and swap the outer ones into the center.
Doing this consistently ensures that every single egg gets a similar average temperature over the full incubation period, giving each embryo an equal chance to thrive. If you're seeing hot spots in a forced-air unit, the fan is the first thing to inspect. A dusty or malfunctioning fan is almost always the culprit behind poor airflow.
A successful hatch begins long before the egg is laid—it starts with healthy hens. Give your flock the best nutrition to support their well-being and boost egg quality with Pure Grubs. See how premium, USA-grown treats can make a difference for your birds at https://puregrubs.com.