

How to Check If Chicken Eggs Are Fertilized
So, you have a clutch of eggs and you're wondering if you'll be hearing the peep of new chicks soon. It's a question every chicken keeper asks. The truth is, you can't tell if an egg is fertile just by looking at its shell. The real clues are all on the inside.
If you're planning to cook the egg, the answer is easy. Crack it open and look at the yolk. A fertile egg will have a tiny, distinct ring on the yolk, often called a "bulls-eye". An infertile egg will just have a solid white spot, known as the blastodisc.
But what if you want to hatch those eggs? Cracking them open obviously isn't an option. That's where a technique called candling comes into play. After a few days in the incubator, candling lets you peek inside without harming the potential chick.
Your Quick Guide to Checking Egg Fertility

Learning to spot a fertile egg is a game-changer. It helps you manage your incubator space efficiently and gives you a good idea of your rooster's performance. It’s one of those fundamental skills that separates the novice from the seasoned flock owner.
Key Fertility Indicators
For eggs destined for the frying pan, a quick crack is all it takes. But for the ones you hope will hatch, candling is your best friend. This simply means shining a bright light through the eggshell in a dark room to illuminate what's happening inside.
You don't have to wait long. After just three to six days of proper incubation, you can start to see the magic happen. A fertile egg will show a small, dark spot (the embryo) with a spiderweb-like network of blood vessels spreading out from it. It's an incredible sight.
This isn't just a backyard hobby, either. Differentiating between fertile and infertile eggs is a massive part of the global poultry industry. In the U.S. alone, about 13% of all eggs are set aside for hatching to sustain the industry. You can dig deeper into the world of egg production on Wikipedia's extensive page about eggs as food.
Pro Tip: Keep it quick and dark. When you candle, have your setup ready in a dark room and handle the eggs gently. You want to minimize their time out of the incubator's stable warmth and humidity. A few minutes is fine, but don't let them get chilled.
To give you a clearer picture, here’s a quick breakdown of the common methods you can use to check for fertility.
Fertility Check Methods at a Glance
| Method | Best Time to Use | What to Look For | Reliability |
|---|---|---|---|
| Crack-Open Check | On fresh, unincubated eggs | A "bulls-eye" ring (blastoderm) on the yolk | 100% Accurate (but destroys the egg) |
| Candling | 5-10 days into incubation | A network of blood vessels, dark embryo spot | High (after development starts) |
| Float Test | End of incubation (Day 18+) | Sinks and wiggles (indicates a live embryo) | Moderate (not a fertility test, but a viability check) |
This table should help you choose the right approach based on where you are in the hatching process.
Ultimately, whether you're cracking an egg for breakfast or candling one with hopes of a new chick, understanding these signs gives you incredible insight into the health and productivity of your flock. It's the first step toward a successful hatch.
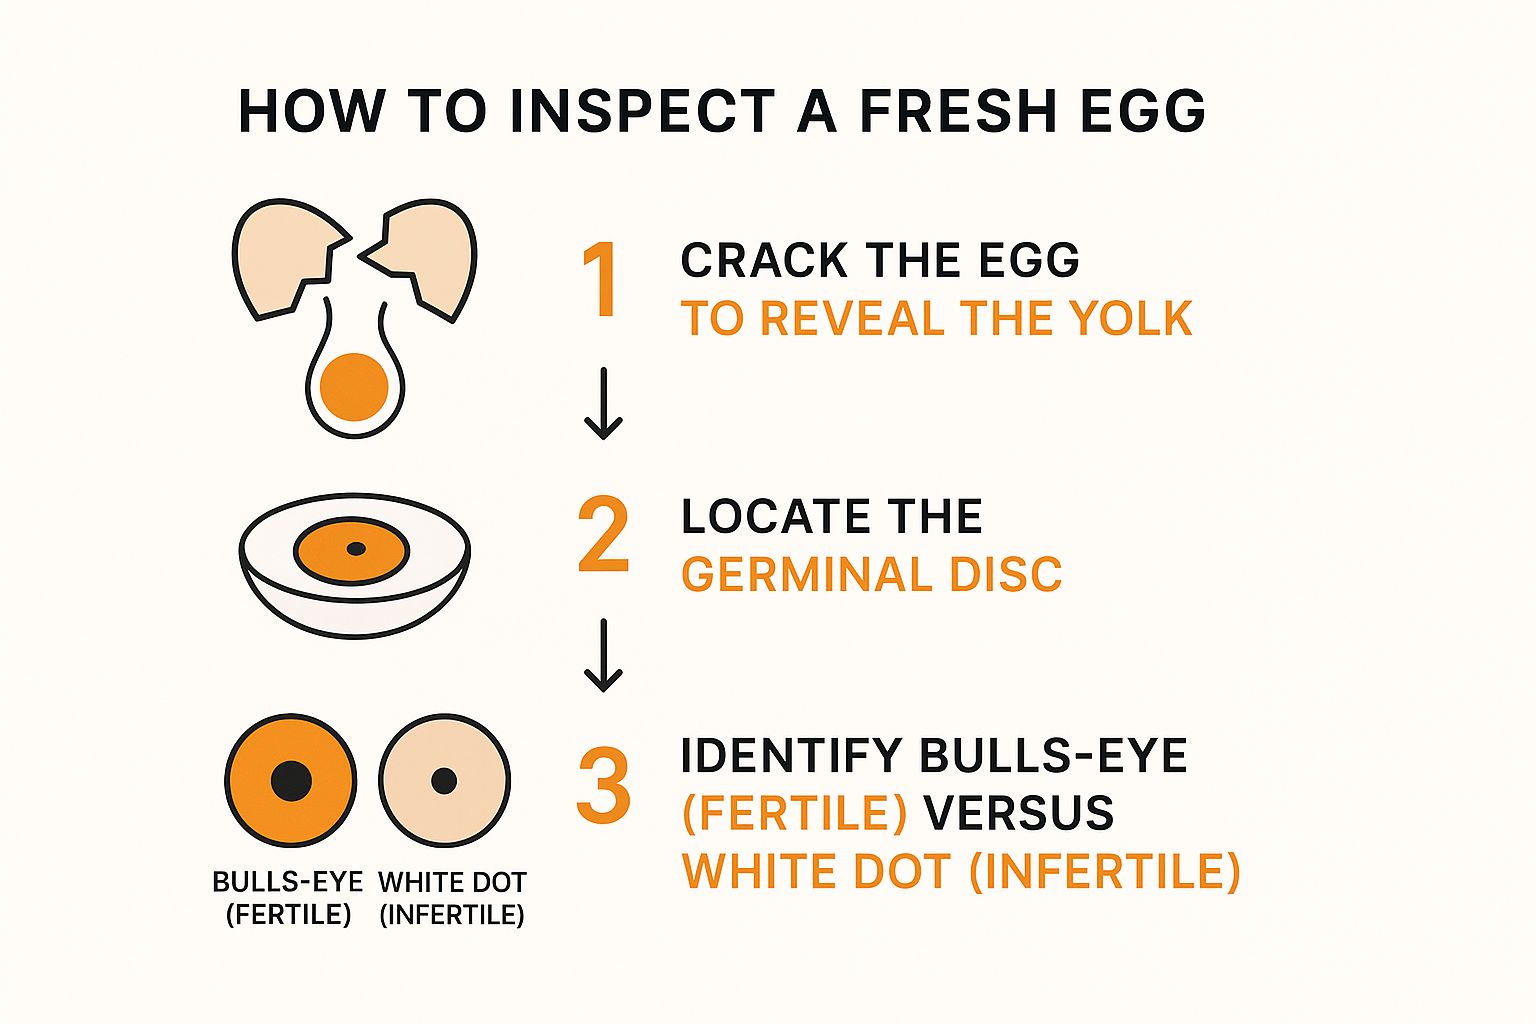
Checking a Fresh Egg for Fertility
Sometimes, you just need a quick answer. If you're not ready to set a full batch of eggs in the incubator but want to know if your rooster is doing his job, cracking one open is the most direct way to find out. Obviously, you can't incubate an egg once it's cracked, but it’s a great way to spot-check your flock’s fertility.
Crack a fresh egg into a small, clear bowl and take a close look at the yolk. What you're looking for is a tiny spot called the germinal disc. Every yolk has one, but its appearance tells you everything you need to know.
The Bulls-Eye vs. The White Dot
This is where the magic happens. The difference between a fertile and an infertile egg comes down to the shape of this little dot.
- Infertile Egg: You'll see a small, solid white spot with kind of jagged, irregular edges. This is called the blastodisc. It looks a bit chalky and doesn't have a defined structure.
- Fertile Egg: A fertile egg has a blastoderm, and it looks like a perfect little bulls-eye or a donut. There will be a clear, almost transparent ring around a solid white center. That ring is your sign that cell division has already started. The egg is fertile.
It’s a subtle difference, but once you see it, you can't miss it.
By sacrificing just one or two eggs from a new rooster or a new group of hens, you can get a fast confirmation. This little test can save you a lot of time and the disappointment of incubating a batch of eggs that were never going to develop.
A quick tip from experience: a hen’s diet and health play a big role here. A healthy, well-fed hen will lay eggs with strong yolks and a very clear, easy-to-spot blastoderm. If you're seeing pale yolks or poorly formed discs, it might be a sign you need to look into how to improve egg quality in your flock.
Mastering the Art of Candling Your Eggs
If you're serious about hatching your own chicks, candling is a skill you absolutely need in your toolkit. It's simply the process of shining a bright light through an eggshell to see what's going on inside. This gives you a fantastic, non-invasive window into the shell, letting you separate the good eggs from the duds without cracking a single one.
The name "candling" comes from the old days when farmers literally used a candle. Thankfully, we have much safer and more effective tools now. A bright LED flashlight is all you need. You can even make a simple candler by cutting a small hole in a cardboard box, just big enough for the egg to nestle in, and placing your flashlight underneath. This setup funnels all the light right through the egg, making the interior easy to see.
When and How to Candle
Timing is everything here. If you candle too early, say before day 5, you won't see much, and you risk jostling the embryo during its most fragile stage. I've found the sweet spot for a first look is between day 7 and day 10 of incubation. By then, development is well underway, and the signs are much easier to spot, especially in a dark room.
When you hold the egg up to the light, here’s what you're hoping to find (and what you're not):
- A Healthy, Growing Embryo: This is the exciting part! You should see a dark spot—the embryo—with a distinct network of blood vessels spreading out from it like a spider's web. If you're lucky, you might even catch a little wiggle of movement.
- An Infertile Egg: This will look clear and empty. The light will pass straight through, revealing only the faint, round shadow of the yolk. No veins, no embryo, no life.
- A "Blood Ring": Seeing a distinct red ring inside the shell is always a bit sad. It means the embryo began to develop but died early on. These need to be removed from the incubator right away.
It’s really important to pull out any non-viable eggs. An infertile or quit-ter egg can start to rot, creating a perfect breeding ground for bacteria that could spread and kill your healthy, developing chicks.
Interpreting the Signs
Once you've done it a few times, you'll get the hang of it and can quickly spot a winner. A healthy embryo will continue to grow, filling more and more of the egg. By day 14, the egg will look mostly dark inside, with a prominent air sac at the large, blunt end.
Don’t forget that a successful hatch starts with a healthy hen. Strong eggshells are the first line of defense for the growing chick inside, and good nutrition is the foundation. Make sure your flock gets high-quality feed, and consider adding one of the best calcium supplements for chickens to their diet. Candling is more than just checking for fertility; it's a window into the health of your flock and the success of your incubation setup.
Confirming Viability in the First Week
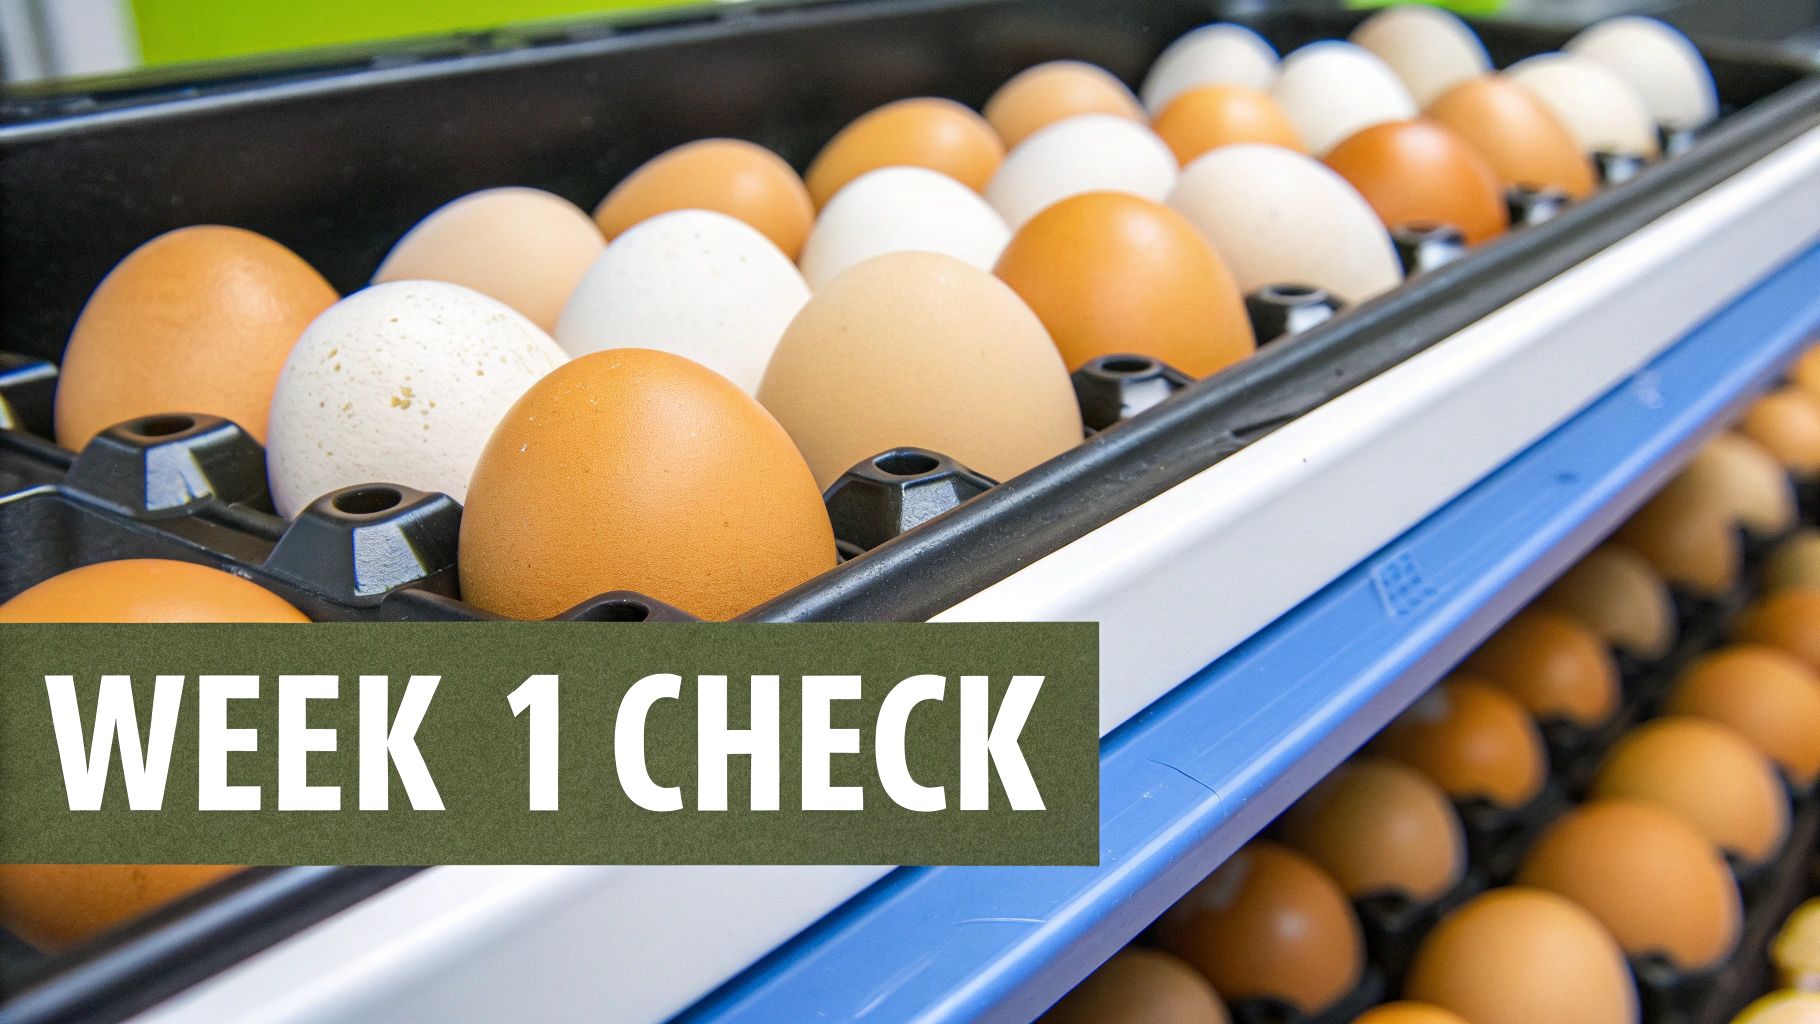
The first week of incubation is the moment of truth. While the germinal disc on a fresh egg gives you a hint, nothing beats seeing the first signs of life inside the shell. For any chicken keeper, it's a truly exciting milestone.
This early check isn't just for your own curiosity, though. It's a critical step in managing your hatch. By pulling out any non-viable eggs early on, you prevent them from going bad and potentially exploding, which can contaminate the healthy, developing ones.
It’s a small-scale version of what drives the global poultry industry. Think about it: in January 2019 alone, the U.S. produced 1.2 billion eggs just for hatching chicks. Being able to spot a fertilized egg is the bedrock of poultry supply chains everywhere. You can dive deeper into the data on the global trade of fertilized eggs for incubation on datamexico.gob.mx.
What to Look for Day by Day
Development inside an egg happens fast. Knowing what you're looking for each day makes candling much less of a guessing game.
-
Day 3-4: This is really the earliest you can expect to see anything. You're searching for very faint, spider-like blood vessels spreading from a central dark spot. I can't stress this enough: you need a completely dark room to see it.
-
Day 5-6: Things get much clearer now. That delicate web of veins is more defined and much easier to spot. The embryo itself is now a distinct dark spot.
-
Day 7: By the one-week mark, there should be no doubt. You’ll see a larger embryo, and if you look closely, a tiny black dot—that's the eye! If you're lucky, you might even see it wiggle.
Don't panic if you see nothing on day 3. Some eggs, particularly those with dark or thick shells, are just harder to candle. My advice is to wait until day 7 for a more definite look.
Pulling any eggs that are still completely clear by day 7 is just good practice. It helps create a more stable environment in the incubator for the viable ones and can genuinely boost your overall hatch rate.
Common Fertility Myths and Costly Mistakes
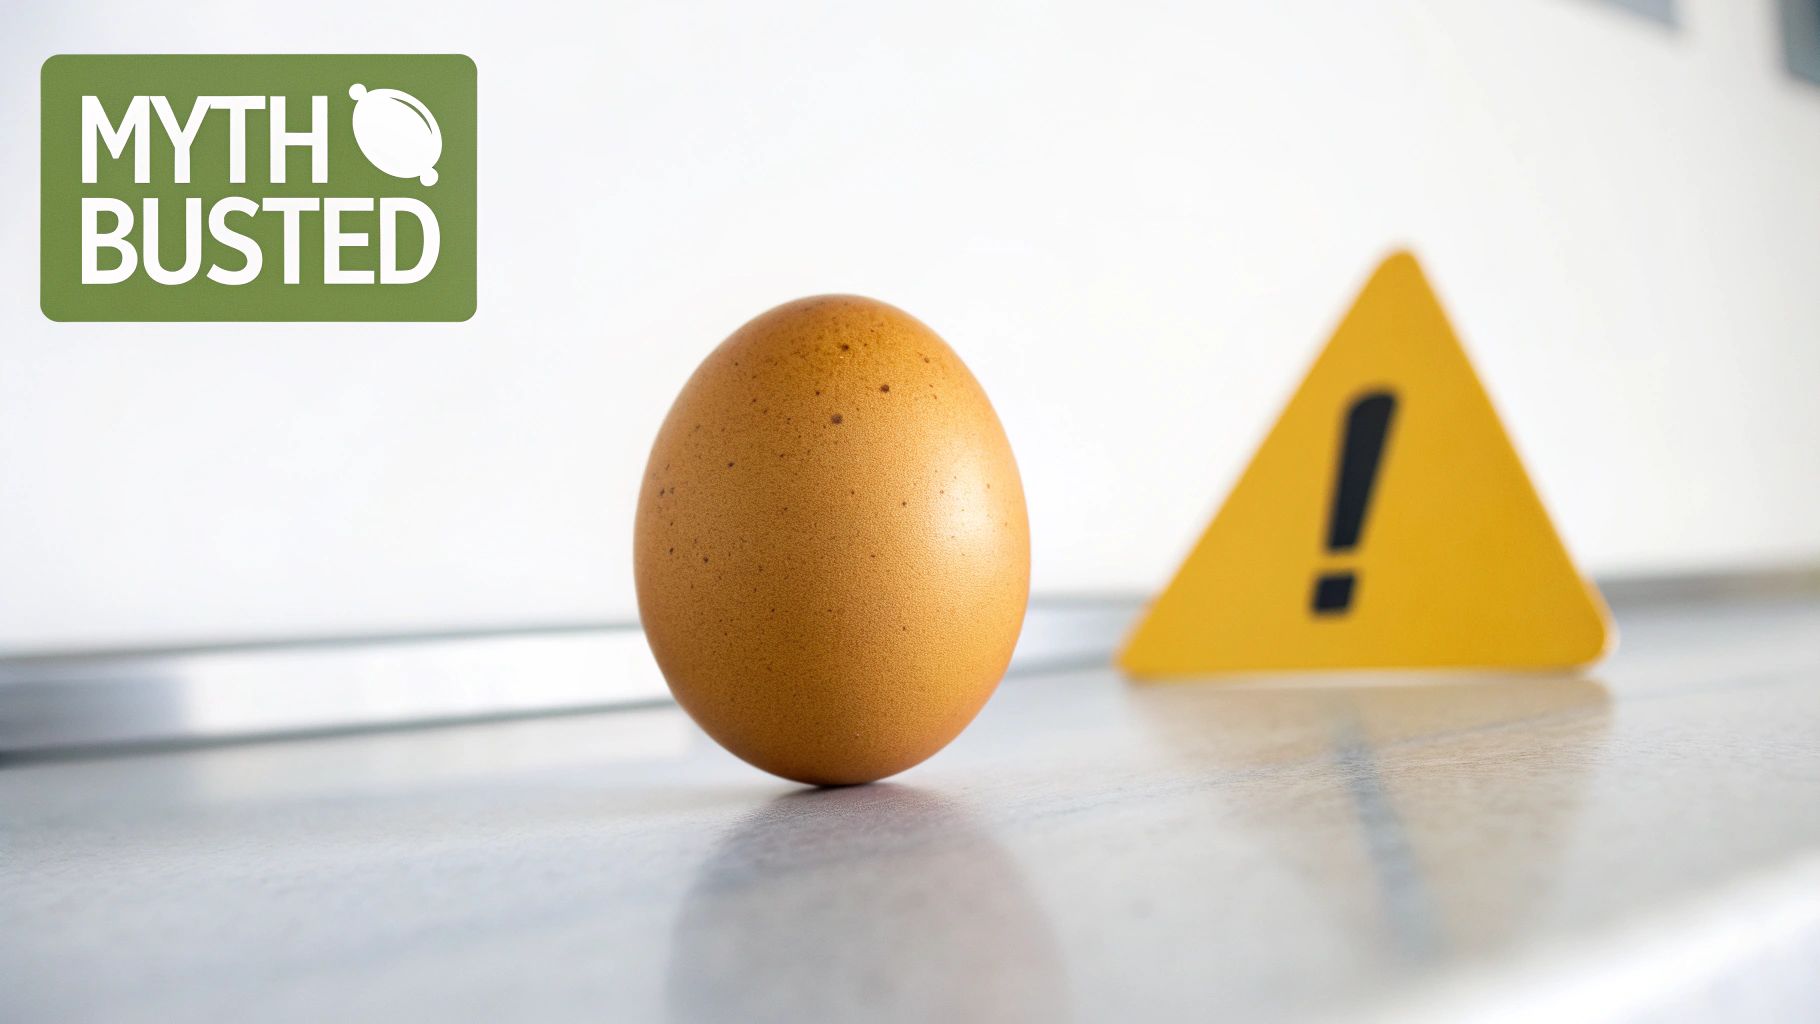
When you're trying to hatch eggs, it's easy to get bogged down by old wives' tales and bad advice. Let's bust a few of the most common myths that can lead to heartbreak and wasted effort, so you can protect your precious, viable eggs.
One of the most stubborn myths out there is the so-called "float test." The idea is that you can tell if an egg is fertile by seeing if it floats in water. This is completely false.
The float test only tells you how old an egg is. As an egg ages, its air sac gets bigger, making it more buoyant. So, an older egg floats, but this has nothing to do with fertilization.
Over-Candling and Misidentification
It's so tempting to check on your eggs every single day, but candling too often is a classic rookie mistake. All that handling can cause dangerous temperature swings and can stress the tiny, developing embryo. For best results, limit your check-ins to around day 7 and again around day 14.
It's also surprisingly easy to misread what you're seeing inside. A tiny blood spot on the yolk is a common sight, and many people mistake it for the beginning of an embryo. In reality, it’s just a harmless ruptured blood vessel from when the hen formed the egg and is not a sign of fertility. A high-quality diet can help reduce these, so knowing what to feed laying hens is crucial for good egg quality.
Key Takeaway: Ditch the float test entirely for checking fertility, and resist the temptation to candle your eggs daily. Sticking to this advice can make a huge difference in your hatch rates.
While these backyard methods work well for us, it's interesting to see what's happening on a larger scale. Commercial hatcheries are looking into high-tech ways to determine fertility even before the eggs hit the incubator. Some are using advanced tools like hyperspectral imaging, which could be a game-changer for efficiency.
Common Questions About Fertile Eggs
When you're just starting out with hatching, a few questions pop up time and time again. Let's tackle some of the most common ones I hear from fellow chicken keepers so you can feel more confident managing your flock.
Can You Eat Fertilized Eggs?
Yes, absolutely. From a nutritional standpoint, there's no difference between a fertile and an infertile egg. If you're collecting eggs daily like most people, you'll never notice a thing.
An embryo only begins to develop under the right temperature and humidity conditions, which won't happen if the egg is collected promptly and stored in your kitchen. The only time you'd want to avoid eating a fertile egg is after it has already spent a few days in an incubator.
How Long Can a Fertilized Egg Be Stored Before Incubation?
You've got a surprisingly long window here. Fertile eggs can stay viable for up to 10 days after they're laid, but only if you store them correctly. The sweet spot for storage is a cool, slightly humid environment, ideally around 55°F (13°C).
Here’s a pro tip that makes a huge difference: always store the eggs with the pointy end down. This simple trick keeps the yolk perfectly centered and protects the air sac at the top, which seriously boosts your chances of a successful hatch later on.
Does a Rooster Need to Be Present for Hens to Lay Eggs?
This is probably one of the biggest misconceptions for newcomers. A hen is going to lay eggs on her regular cycle whether a rooster is part of the flock or not. Think of it like a human menstrual cycle—it just happens.
However, those eggs will never be fertile without a rooster. He's only necessary if your goal is to hatch chicks. If you're just looking for a steady supply of delicious eggs for your breakfast table, you don't need a rooster at all.
A healthy diet is the foundation for good fertility and strong eggshells. Pure Grubs offers an all-natural, high-calcium treat to support your flock's health from the inside out. Find out more at the Pure Grubs website.