


A Practical Guide to Chick Feed by Age for a Healthy Flock
The first six weeks of a chick's life are an incredible whirlwind of growth, and it all comes down to what's in their feeder. This initial period is powered by a high-protein starter feed, which is non-negotiable for getting them off to a strong, healthy start.
Laying the Foundation: Chick Starter Feed (0-6 Weeks)
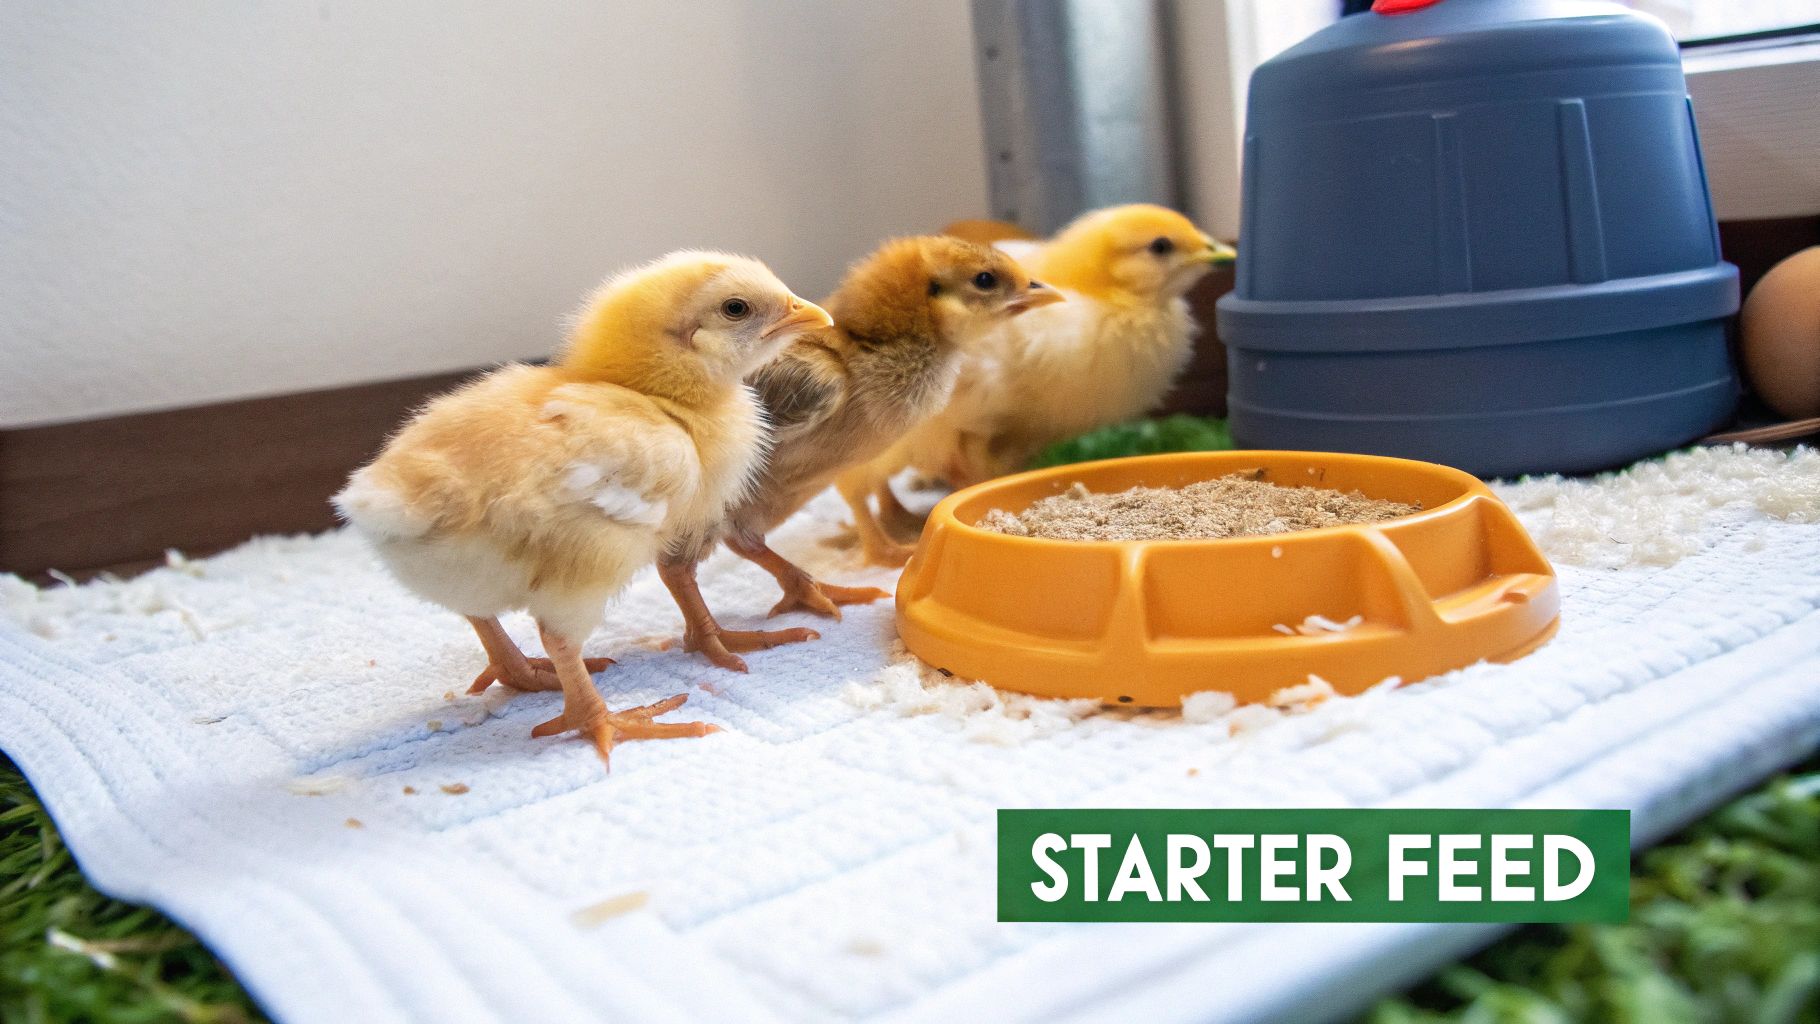
From the moment they hatch until they're about six weeks old, chicks go through their most demanding growth phase. I always think of starter feed as the nutritional bedrock for their entire lives. Its main job is to pack a serious protein punch, fueling the development of everything from their tiny muscles to their first real feathers.
A chick that gets the right nutrition from day one is simply more resilient. They grow more evenly and are far better equipped for the journey to adulthood. This early stage is so intense that a standard, all-purpose feed just can't keep up.
This visual timeline really helps put the feeding stages into perspective.
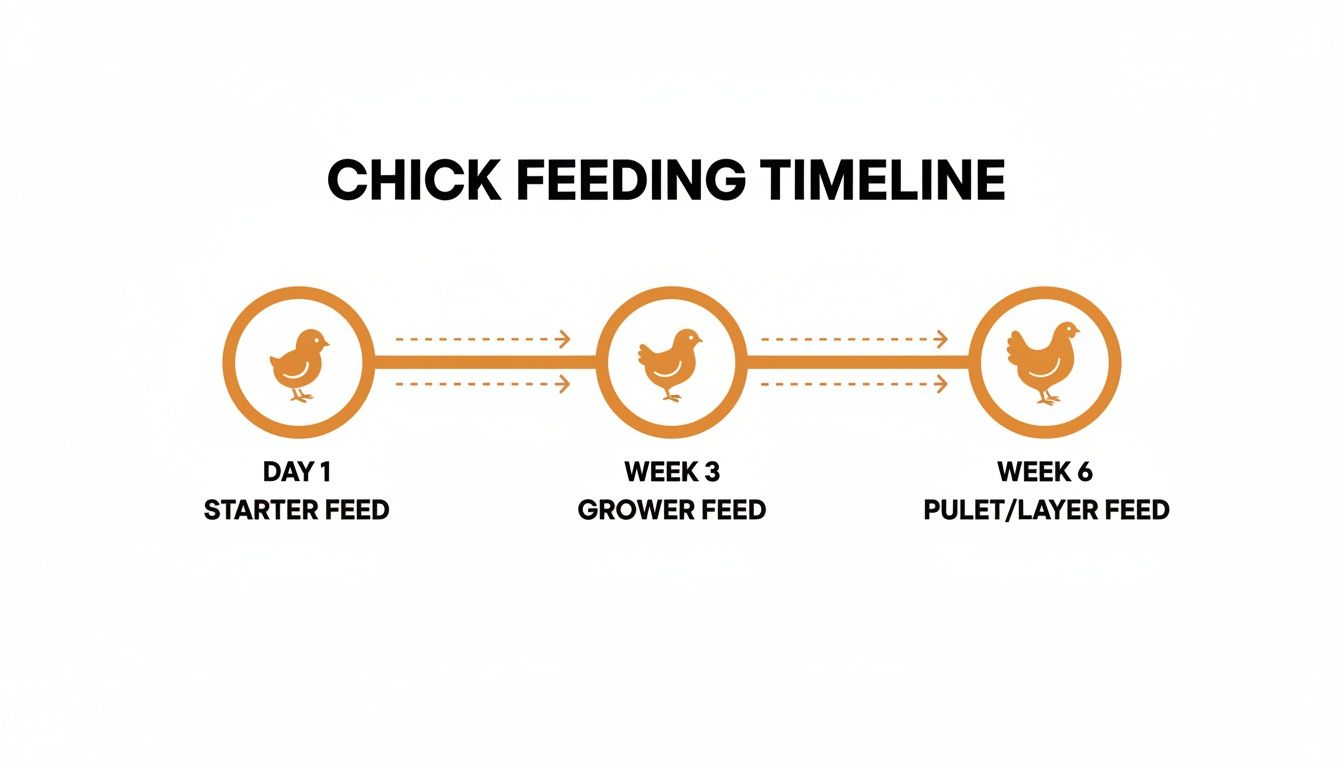
As you can see, a single, specialized feed is the cornerstone of a chick's journey from a fluffy hatchling to a feathered-out young bird in just a few short weeks.
Why the Right Protein and Calcium Levels are Crucial
During these first six weeks, chicks need more protein than at any other time in their lives. We're talking a feed with 20-23% crude protein to support that explosive growth.
On the flip side, calcium needs to be kept low—around 1% or less. This is incredibly important. Too much calcium at this age can overwhelm their developing kidneys and cause permanent damage. This is why you must never give young chicks a layer feed, which can contain 3.5-4.5% calcium. That's a recipe for disaster before they reach 18 weeks of age.
My Two Cents: Don't cut corners on starter feed. Giving your chicks a high-protein, low-calcium formula for the first six weeks is the single best thing you can do for their long-term health. Getting this balance wrong can lead to irreversible issues like kidney failure or poor skeletal development.
To help you keep track, here’s a quick-reference guide to the nutrient needs at each stage.
Chick Feed Nutrient Guide by Age
| Age Range | Feed Type | Protein Percentage | Calcium Percentage | Key Goal |
|---|---|---|---|---|
| 0-6 Weeks | Starter | 20-23% | ~1% | Rapid growth, feathering |
| 6-18 Weeks | Grower | 16-18% | ~1% | Skeletal development |
| 18+ Weeks | Layer | 16-18% | 3.5-4.5% | Egg production, health |
This chart makes it easy to see how a chick's nutritional needs shift as they mature, especially the dramatic jump in calcium once they start laying.
The Medicated vs. Non-Medicated Debate
One of the first choices you'll make at the feed store is whether to buy medicated or non-medicated starter. It's a common point of confusion, but the decision is pretty straightforward.
-
Medicated Feed: This feed contains a coccidiostat, usually amprolium, which helps prevent coccidiosis. Coccidiosis is a nasty (and often fatal) intestinal parasite that thrives in brooders. If your chicks have not been vaccinated against it, or if you're raising them where other chickens have lived, medicated feed is a smart form of insurance.
-
Non-Medicated Feed: Choose this if your chicks have already been vaccinated for coccidiosis by the hatchery. Using medicated feed will actually cancel out the vaccine's effectiveness. It's also the go-to for anyone raising chicks in a brand-new or thoroughly sanitized brooder where exposure risk is minimal.
When you get the nutrition right, the signs are obvious. You'll see active, alert chicks that are gaining weight steadily and growing in a full, smooth coat of feathers. If you're seeing listlessness, stunted growth, or patchy feathering, their diet is the first place to look.
To get a better handle on all the different formulas out there, take a look at our complete guide on the different types of chicken feed.
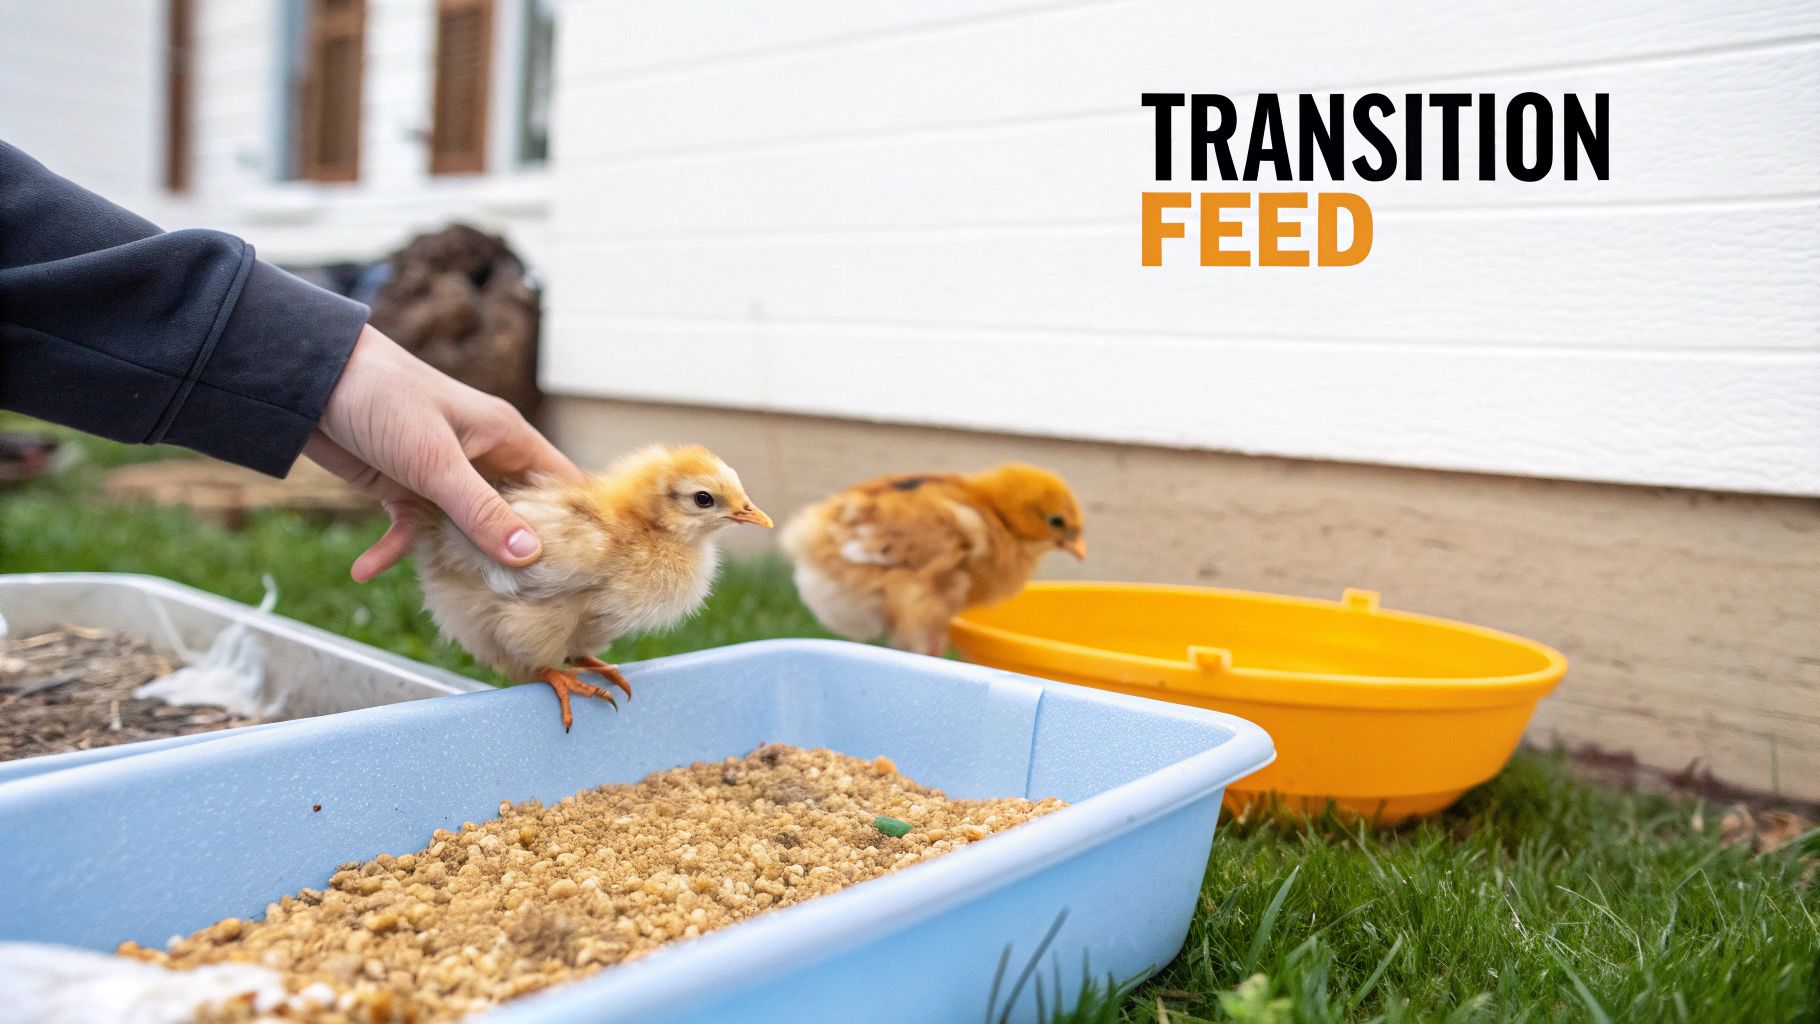
Moving On Up: The Transition to Grower Feed
Once your chicks hit that awkward teenage phase, usually somewhere between six and 18 weeks old, their nutritional needs take a sharp turn. The explosive, fuzzy-butt growth of the first few weeks starts to level off. Now, the focus isn't on getting big fast, but on building a solid foundation for a long, healthy life.
This is where grower feed comes in. It’s perfectly formulated for this lanky, adolescent stage.
Think of this period as building the internal framework of a house. You need strong bones and well-developed organs before you can even think about adding the siding and paint. That's exactly what this stage is for—constructing a robust frame that will support them as egg-laying adults.
Why Less Protein is Actually Better
The biggest difference you'll notice in grower feed is the protein content. That high-octane starter feed packed a 20-23% protein punch, but grower formulas dial it back to a more moderate 16-18%. This isn't a step down; it's a crucial, deliberate change.
Keeping protein too high during these weeks can actually be harmful. It can push them to grow too quickly, putting immense strain on their still-developing bodies and leading to painful leg and joint problems down the road. The lower protein encourages a slower, steadier growth rate. It gives their bones and organs the time they need to mature properly without being rushed.
The calcium level also stays low, right around 1%, because their bodies aren't ready for the high doses needed to form eggshells.
How to Switch Feeds Without the Drama
Trust me, you don't want to just swap out their food one day. A sudden change can really shock a young chicken's digestive system, leading to stress, diarrhea, or even a full-blown hunger strike. I’ve learned over the years that a gradual, week-long transition is the secret to avoiding all that drama. It gives their gut flora time to adjust.
Here’s the simple, seven-day mixing schedule I swear by:
- Days 1-2: Mix 75% of the old starter feed with 25% of the new grower feed.
- Days 3-4: Go to a 50/50 mix of starter and grower.
- Days 5-6: Now, shift the balance to 25% starter and 75% grower.
- Day 7: You're there! Switch them over to 100% grower feed.
Keep an eye on the flock during this week. Check their droppings for anything unusual and just make sure they're eating with their usual gusto. This slow-and-steady approach makes the change almost invisible to them.
Key Takeaway: The goal is a seamless dietary change. Mixing the old and new feed over a week prevents digestive shock and ensures your developing birds continue to eat well, getting the consistent nutrition they need for steady growth.
Don't Forget the Grit!
Around the same time you're switching to grower feed, your pullets and cockerels will likely be spending more time exploring, scratching in the dirt, and foraging for tasty morsels. The moment they start eating anything other than their crumble—be it grass, bugs, or the occasional treat—you absolutely must introduce grit.
Chickens don’t have teeth. Instead, they use a powerful muscular organ called the gizzard to grind up their food. Grit is essentially their teeth. It's made of tiny, insoluble stones (like crushed granite) that they store in their gizzard. When the gizzard contracts, the grit pulverizes tough foods, making them digestible and unlocking all the nutrients.
All you have to do is offer a small, separate dish of chick-sized grit. They instinctively know how much to take. It's a simple step, but it sets them up for a lifetime of good digestive health and prevents serious issues like crop impaction.
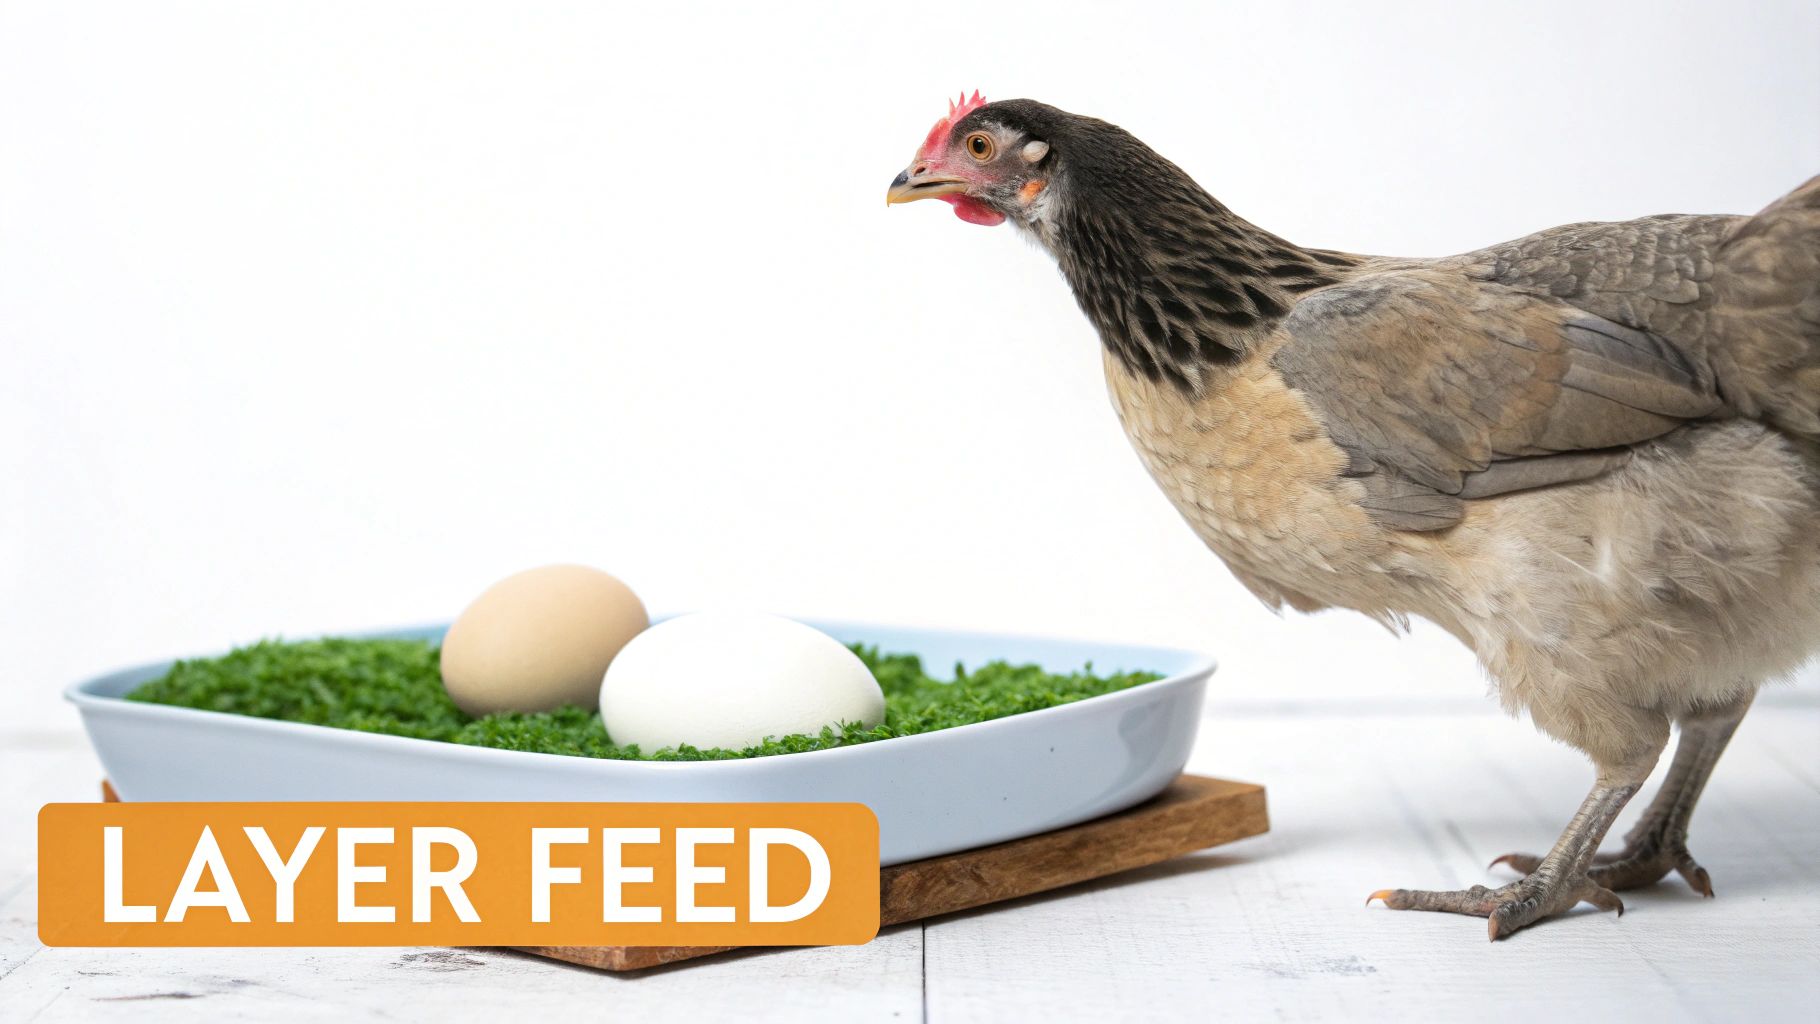
Preparing Your Flock for the Big Day: Laying Eggs
As your pullets round the corner to 18 weeks old, you're entering one of the most exciting and crucial phases of their lives: the switch to layer feed. This isn't just about swapping one bag of feed for another. It's a fundamental dietary shift that primes their bodies for the incredible work of laying eggs. Nailing this transition is key to their long-term health and the steady supply of fresh eggs you’ve been waiting for.
This final step ensures your flock gets the massive calcium boost they need for strong eggshells, helping you avoid some serious health problems down the line.
Why Calcium Becomes So Critical
The single biggest difference in layer feed is the huge jump in calcium content. We’re talking about going from about 1% in their grower feed up to 3.5-4.5%. That's a massive increase, and it’s there for a very good reason.
Think about it: an eggshell is almost pure calcium carbonate. Your hen has to build one of these practically from scratch almost every single day. If her diet doesn't provide that calcium, her body will have no choice but to steal it from her own bones. This can quickly lead to brittle bones, osteoporosis, and a much shorter, less productive life. Understanding the role of chicken feed with calcium makes it clear why this dietary change is non-negotiable for a laying flock.
Timing is absolutely everything here. If you switch to a high-calcium layer feed too soon (before 16-18 weeks), you can cause permanent kidney damage. But if you wait too long, you risk soft-shelled first eggs and you force the hen to deplete her own calcium reserves right out of the gate.
Reading the Signs: Is She Ready?
Instead of just circling a date on the calendar, learn to read the signals your birds are sending. They'll give you plenty of physical and behavioral clues that they're getting close to laying their first egg. Spotting these signs is how you time the transition perfectly.
Keep an eye out for these classic indicators:
- Deep Red Combs and Wattles: One of the most reliable signs is watching their combs and wattles transform from a light, pale pink to a deep, waxy red. When you see that vibrant color, you know egg-laying hormones are surging.
- The "Submissive Squat": This one is unmistakable. As you approach, a pullet who is ready to lay will often squat down low, flatten her back, and spread her wings slightly. It's a hormonal, instinctual posture and a dead giveaway that she's almost ready.
- Nesting Box Curiosity: You'll start to see your girls checking out the nesting boxes. They’ll poke their heads in, rearrange the bedding, and maybe even hop in for a practice run.
The moment you start noticing these behaviors, it's time to start the switch. Use that same gradual, seven-day mixing method you used before to ease their digestive systems into the new formula. A smooth, well-timed transition to layer feed sets your hens up for a long, healthy, and wonderfully productive life in your flock.
Choosing Smart Treats and Supplements
Your flock's main feed is their dietary bedrock—it’s got everything they need to grow and thrive. But let's be honest, treats are the fun part! They're fantastic for bonding, training, and just plain spoiling your birds. The trick is to be smart about it.
I always stick to the 10% rule: treats should make up no more than 10% of your flock's daily diet. Think of it like dessert for chickens. Too much of a good thing can throw off the balanced nutrition in their core feed, leading to health issues down the road.
Beyond just being a tasty snack, treats are a powerful tool for enrichment. Tossing some healthy goodies into the run gets them scratching and foraging, just like they would in the wild. It keeps them busy, happy, and cuts down on boredom-related behaviors like feather picking.
A quick tip for the little ones: hold off on treats until your chicks are at least a couple of weeks old. When you do start, make sure they have a dish of chick-sized grit available. They need it to properly grind up and digest anything besides their starter crumble.
High-Value Treats for a Thriving Flock
Not all treats are created equal. Your flock will enthusiastically eat almost anything, but your goal is to offer treats that add real nutritional value, not just empty calories. This is especially true for laying hens or birds going through a tough molt, as their bodies are working overtime and need extra protein and calcium.
This is where black soldier fly larvae, like Pure Grubs, really shine. They're a protein powerhouse, which is exactly what a chicken needs to regrow a beautiful new set of feathers. But their biggest advantage is their incredible calcium content—up to 85% more calcium than mealworms.
That extra calcium directly supports strong, solid eggshells and helps maintain your hens' bone health for the long haul. If you want more great ideas, we've put together a whole guide on the best treats for chickens.
A common mistake I see new chicken keepers make is overdoing it with scratch grains or mealworms. They're fine as a rare treat, but they are low in calcium and high in phosphorus. Too much can actually block calcium absorption, defeating the purpose of a high-quality layer feed.
Safe Scraps and Foods to Avoid
Your kitchen can be a treasure trove of chicken-friendly snacks, but you have to be careful. Some of our favorite foods are actually toxic to chickens.
Here’s a quick rundown of what’s safe and what’s a definite no-go.
Safe Kitchen Scraps (in moderation):
- Leafy Greens: Kale, spinach, and most lettuces (skip the iceberg, it's mostly water).
- Berries: A handful of blueberries, strawberries, or raspberries is a huge hit.
- Cooked Grains: Leftover plain oatmeal or rice is a warm treat on a cold day.
- Veggies: Cucumbers, broccoli, and cooked sweet potato are all great options.
Foods to Absolutely Avoid:
- Avocado: The skin and pit are especially toxic.
- Raw Beans: Very dangerous for chickens.
- Onions and Garlic: Can cause anemia if they eat too much.
- Chocolate or Salty Foods: A big no-no. They're toxic and can cause serious dehydration.
By following the 10% rule and focusing on high-value goodies, you can give your flock exciting variety without messing up the carefully planned diet you've worked so hard to provide.
Working Through Common Chick Feeding Problems
Even the most seasoned chicken keepers run into a hiccup now and then. The good news is that most feeding-related issues with chicks are pretty minor and easy to sort out once you know what to look for. Spotting the signs early is the real secret to raising a healthy, tough little flock.
One of the first challenges you might face is the dreaded pasty butt (also called pasted vent). It’s exactly what it sounds like—droppings get stuck to a chick's downy fluff and harden over their vent, creating a blockage. If you don’t catch it, this can quickly become fatal. More often than not, the culprit is stress, usually from shipping or a brooder that's either too hot or too cold.
To fix it, just take a warm, damp cloth and gently wipe the area until the blockage is gone. A little dab of petroleum jelly on the clean skin can help soothe any irritation and keep more droppings from sticking. The most important step, though, is to double-check your brooder temperature. A stable, correct temperature is the number one way to prevent pasty butt from happening in the first place.
Spotting a Nutritional Gap
Sometimes, even when you're using the right feed, you might notice subtle signs that something is off. Following a proper chick feed plan for their age is your best defense, but every now and then, a specific chick might need a little extra help.
Keep an eye out for these clues:
- Slow Growth or Low Energy: Healthy chicks are little balls of energy—peeping, scratching, and exploring. If you have one that's always hanging back, seems listless, or is noticeably smaller than the others, it might be struggling to get enough food or missing a key nutrient.
- Splayed Leg: This is when a chick’s legs splay out to the sides, making it hard to stand. While it's often caused by slippery flooring in the brooder, a vitamin deficiency can also lead to weak leg development.
- Helping a Shy Eater: In every group, there can be a timid one that gets pushed away from the feeder. I've had success taking that chick aside for a "private" meal from a small dish. A little bit of scrambled egg is also a fantastic way to tempt a chick that’s turned its beak up at its regular crumbles.
Getting Through Stressful Times
Things like a sudden heatwave or their first big molt can put a lot of strain on a chicken's system, and that almost always affects their appetite. During a scorching hot spell, you'll likely see the whole flock eating less. That's perfectly normal. Your job is to make sure they have constant access to cool, clean water. I like to add electrolytes to their water during these times just to help them stay hydrated and bounce back.
When a chicken molts, its body goes into overdrive to regrow thousands of feathers, and that process demands a massive amount of protein and calcium. This is the perfect time to bring in a high-protein supplement. Treats like Pure Grubs are fantastic for supporting that intense feather production and can help your flock get through the molt faster and more comfortably.
Answering Your Top Questions About Chick Feed
Even with the best-laid plans, questions are going to pop up. Getting good answers helps you feel more confident and handle the little hiccups that come with raising a flock. Here, we'll tackle some of the most common questions I hear about feeding chicks at different ages.
Think of this as your go-to spot for those "what if" moments. We’ll clear up the confusion on everything from whether that accidental nibble of the wrong feed is a big deal to how to keep your feed fresh.
What Happens If My Chicks Accidentally Eat Layer Feed?
This is a fear I hear all the time, and it's a valid one. A quick, accidental mouthful probably won't do any lasting harm, but you definitely want to fix the situation immediately. The real problem comes from continued access.
Layer feed is packed with calcium—we’re talking 3.5% to 4.5%—which is essential for strong eggshells. A young chick’s kidneys just aren't mature enough to handle that kind of load. If they eat it for more than a day or two, it can cause irreversible kidney damage, stunt their growth, or worse.
If you're raising a mixed-age flock, the easiest and safest solution is to feed everyone a quality grower feed. Then, offer supplemental calcium, like crushed oyster shell, in a separate dish. Your laying hens know what they need and will take it freely, while the younger birds will simply leave it alone.
How Should I Store My Chicken Feed?
Storing feed properly isn't just about being tidy—it's about protecting your flock's health and the feed's nutritional value. The goal is simple: keep it dry, cool, and away from pests.
- Choose the Right Container: A galvanized metal can with a snug lid is your best bet. I've seen rodents chew right through plastic bags and even thin plastic bins in a single night.
- Find a Cool, Dry Spot: Keep the feed container out of direct sunlight and away from any dampness. A musty shed or leaky garage can quickly lead to moldy feed, which can be toxic.
- Watch the "Milled On" Date: Always check the date on the bag. You'll want to use the feed within 30-60 days of milling because the vitamins start to lose their potency after that.
Pro Tip: Never just dump a new bag of feed on top of the old stuff. Always empty your container completely and give it a quick wipe-down before refilling. This little bit of effort stops stale, dusty feed from caking at the bottom, where it can attract pests or grow mold.
Can I Make My Own Chick Feed?
The short answer is yes, but it’s incredibly difficult to do right, and I almost never recommend it for beginners. Getting the chick feed by age formula correct is a genuine science. Commercial feeds are created by professional animal nutritionists who painstakingly balance the precise protein, vitamin, and mineral ratios for each stage of a chicken's life.
If you get those ratios wrong, you can cause some serious health problems. You could create deficiencies that lead to developmental issues or excesses that overload their tiny organs. Honestly, for almost everyone, sticking with a high-quality commercial feed is the simplest, safest way to ensure your birds get the nutrition they need to grow up strong and healthy. It just removes all the guesswork.
For a treat that supports your flock through every life stage, Pure Grubs offers USA-grown black soldier fly larvae packed with the protein and calcium they need for vibrant health.